Contents
Use Case 1 – Requests
OVERVIEW
With the main goal to control the workflow inside the client, the Work Orders feature is a tool that helps not only to control tickets but also allows the optimization of the work and the client’s routines.
HOW TO USE
The Work Orders feature has a simple and clean interface. Through it, the user can create tickets, see its status, comments made, SLA time and more. There is also the possibility to work on tickets assigned to you and resolve them.
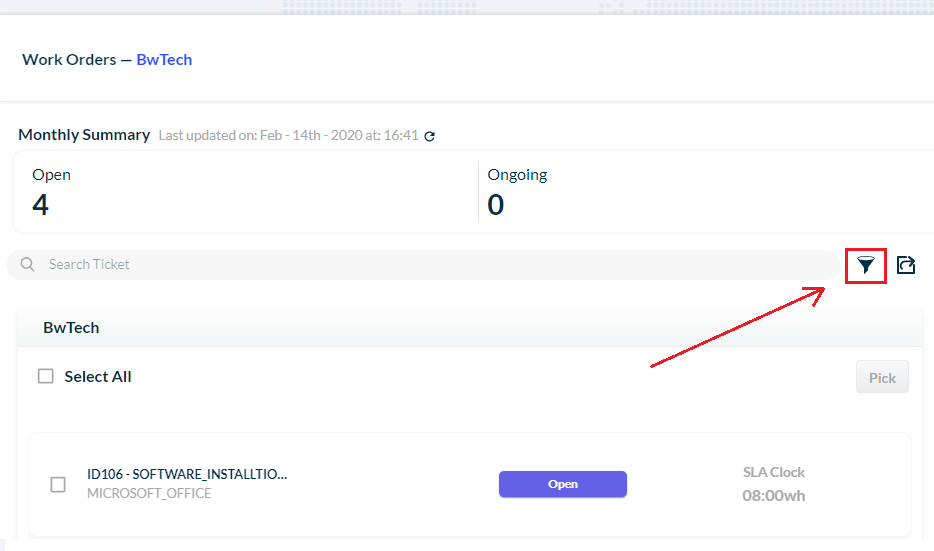
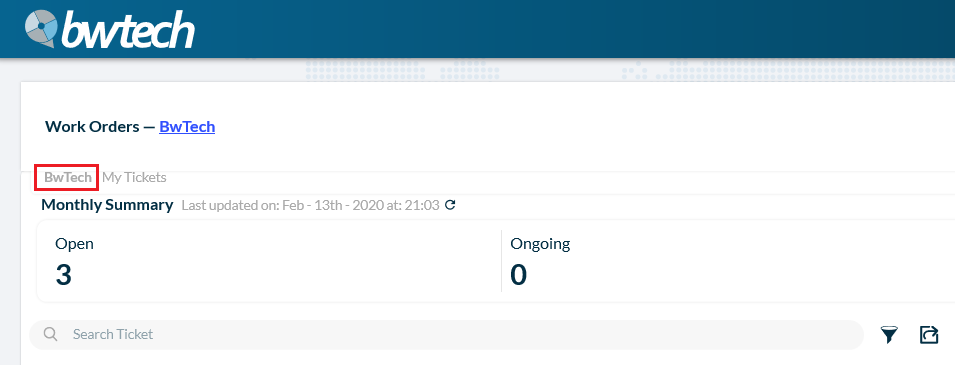
On the main page, the user has an overview of the tickets: how many are open, ongoing, closed or had the SLA breached.

1 – On the menu bar you can choose on which page you want to navigate. In your teams’ page (here called BwTech) you can resolve tickets. And on My Ticket’s page, you can create tickets.
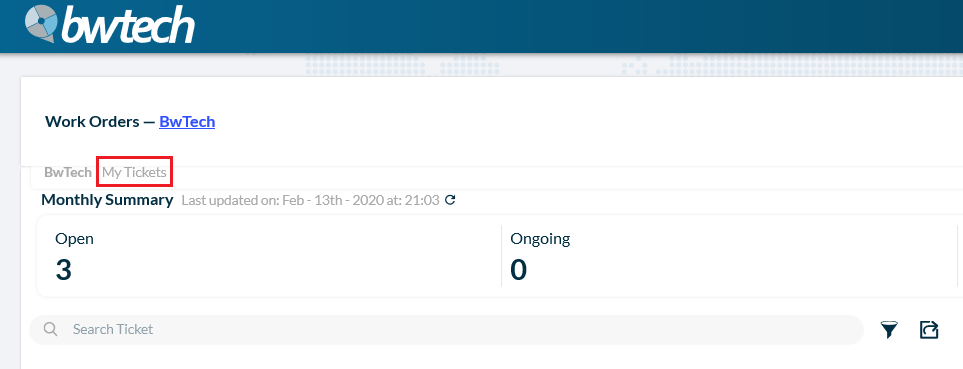
2 – To find a ticket, you can use the search bar.

3 – And to refine your results, use the filter tool.
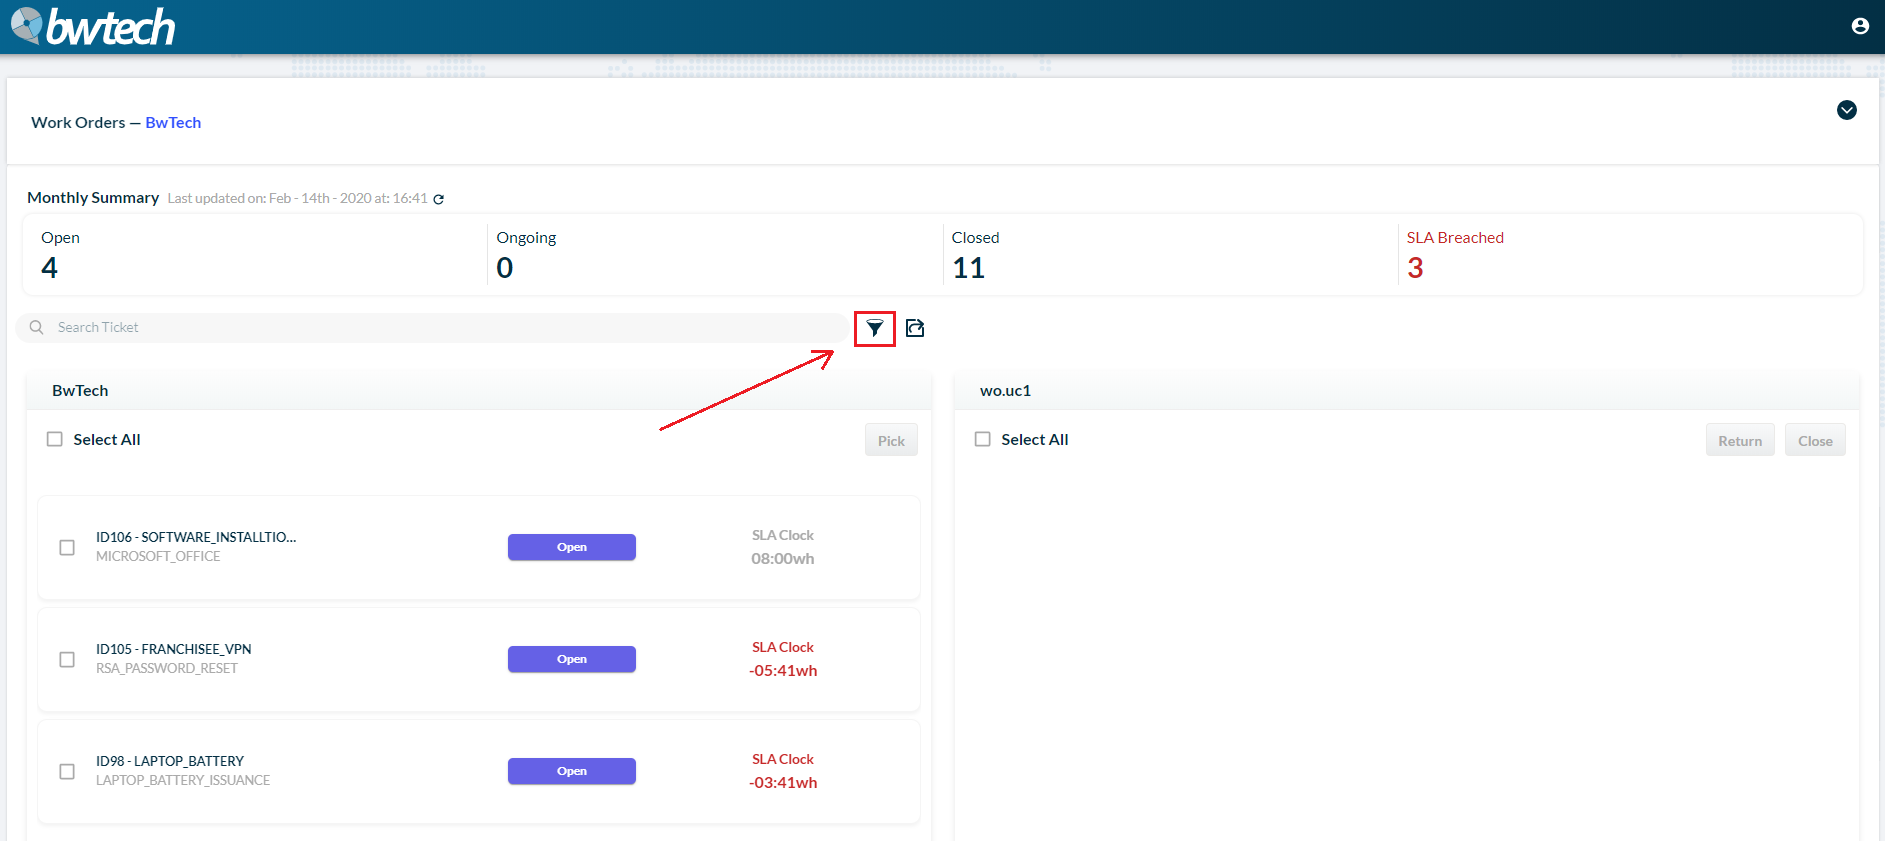
Through the filter tool, you can filter the results by status, SLA time, severity, problem or sub-problem:
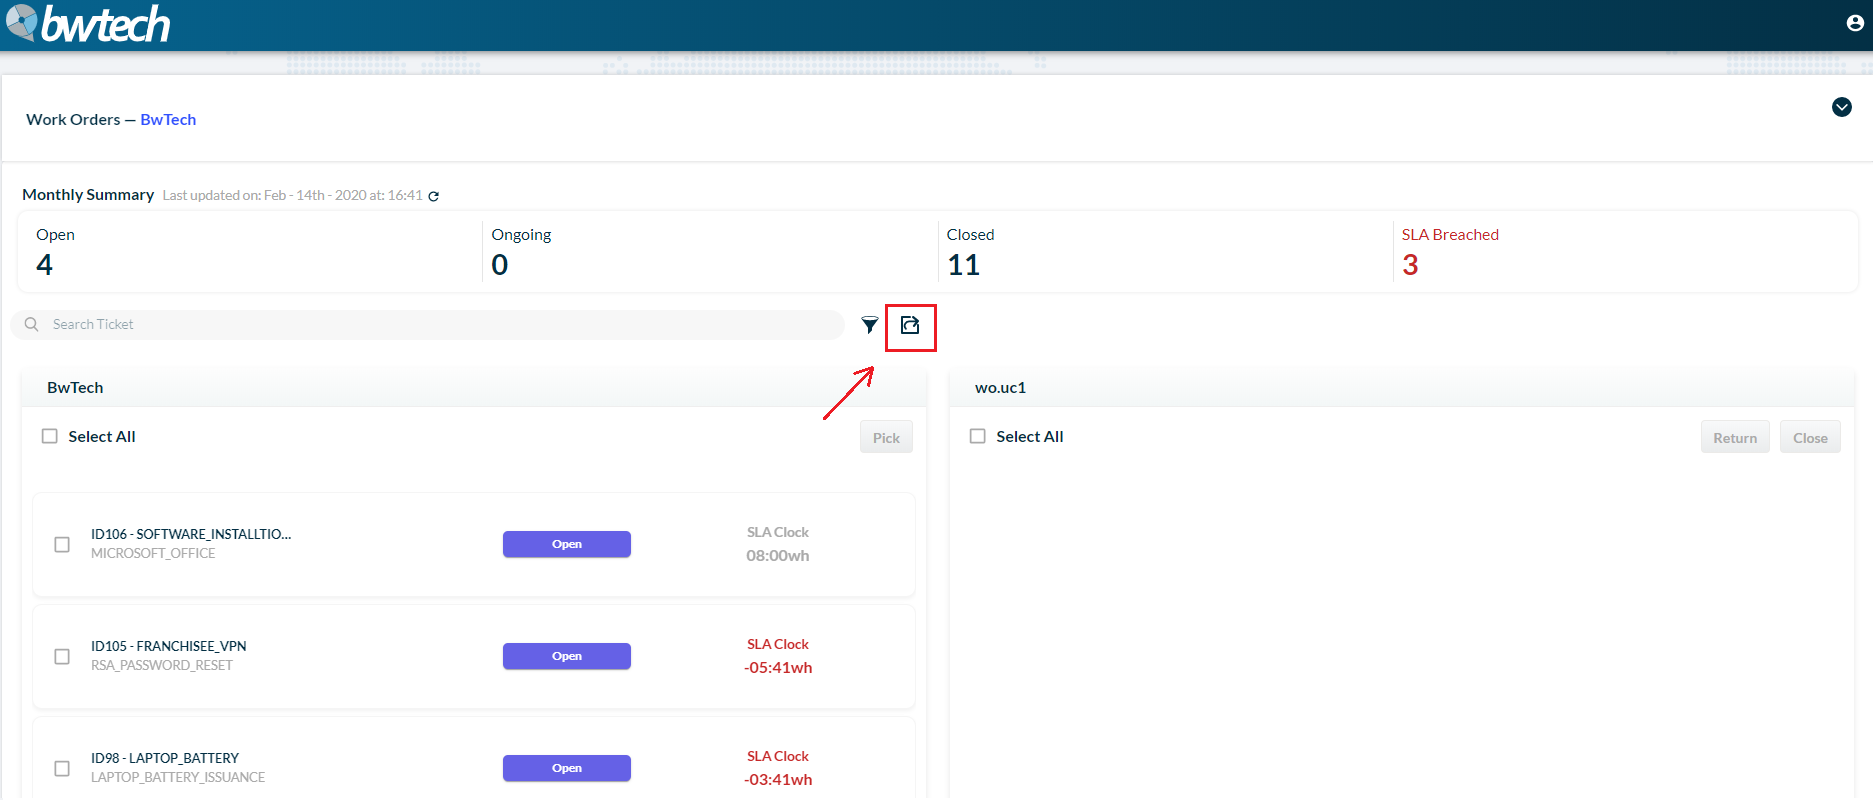
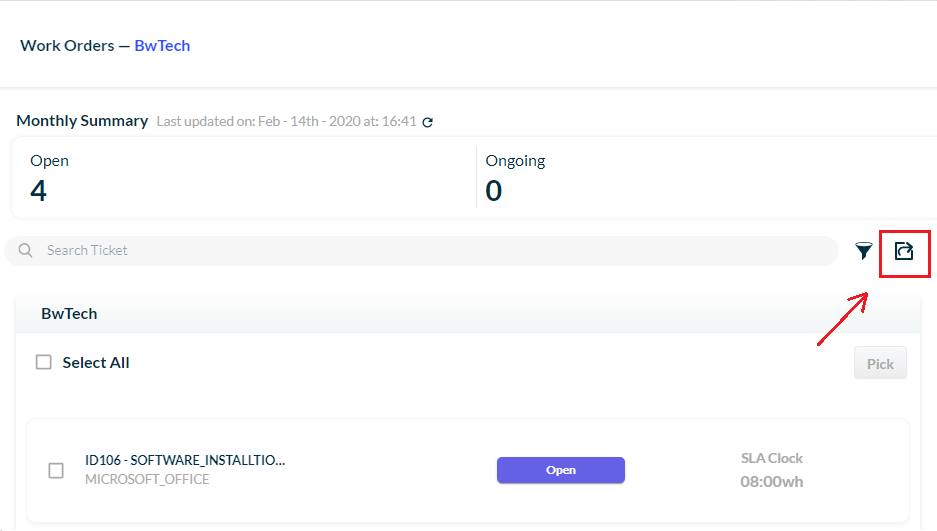
4 – You also have the option to export your data to an Excel file. Just click on the Export icon (shown in the image below) and the document will be downloaded.
Example of an Excel file:

Configurations
User permissions
It is important to know your permissions when using the Work Orders feature. Some users only have permission to create tickets, and others are allowed to create and resolve tickets.
Filtering options
In the Work Orders feature, the user has the option to filter tickets. This functionality is available on the team’s page, through the filter icon:
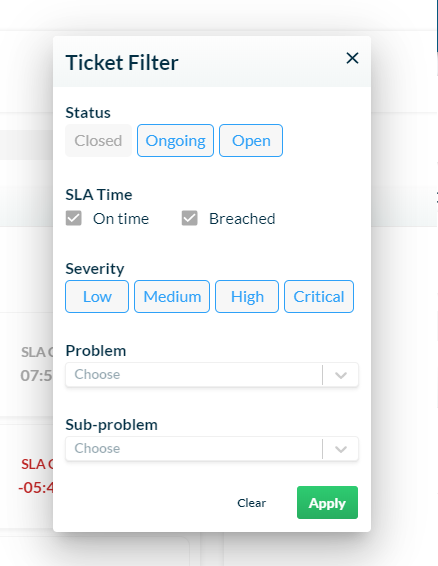
After clicking on the filter tool, a new window will open:
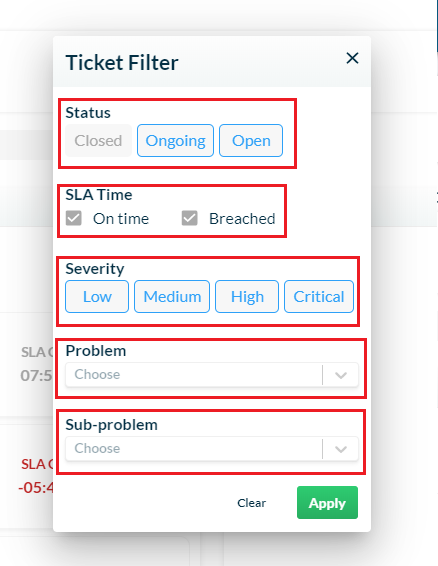
Through it, it is possible to filter all the tickets by:
- Status
- SLA time
- Severity
- Problem
- Sub-problem
So, if for example, you want to see only closed tickets that had the SLA time breached, all you have to do is choose those two filtering options and click on the Apply button.
Exporting files
Through the Work Orders feature, it is also possible to export the tickets, downloading an Excel file.
The Export icon is also on the team’s page, right next to the filter button.
The exporting tool will create an Excel file with the ticket’s information. But attention! The document will only have the data of the tickets that are on the list in the moment of the exportation.
Thus, if you want to download a document with all your team’s tickets that are on the system, first use the filter tool to select all the status options available. After doing that, all the tickets – closed, open, breached and ongoing -, will appear on your list. Thereafter, you can click on the Export button and your file will be downloaded.
USE CASES
Creating a ticket
1 – On the top menu, click on My tickets.

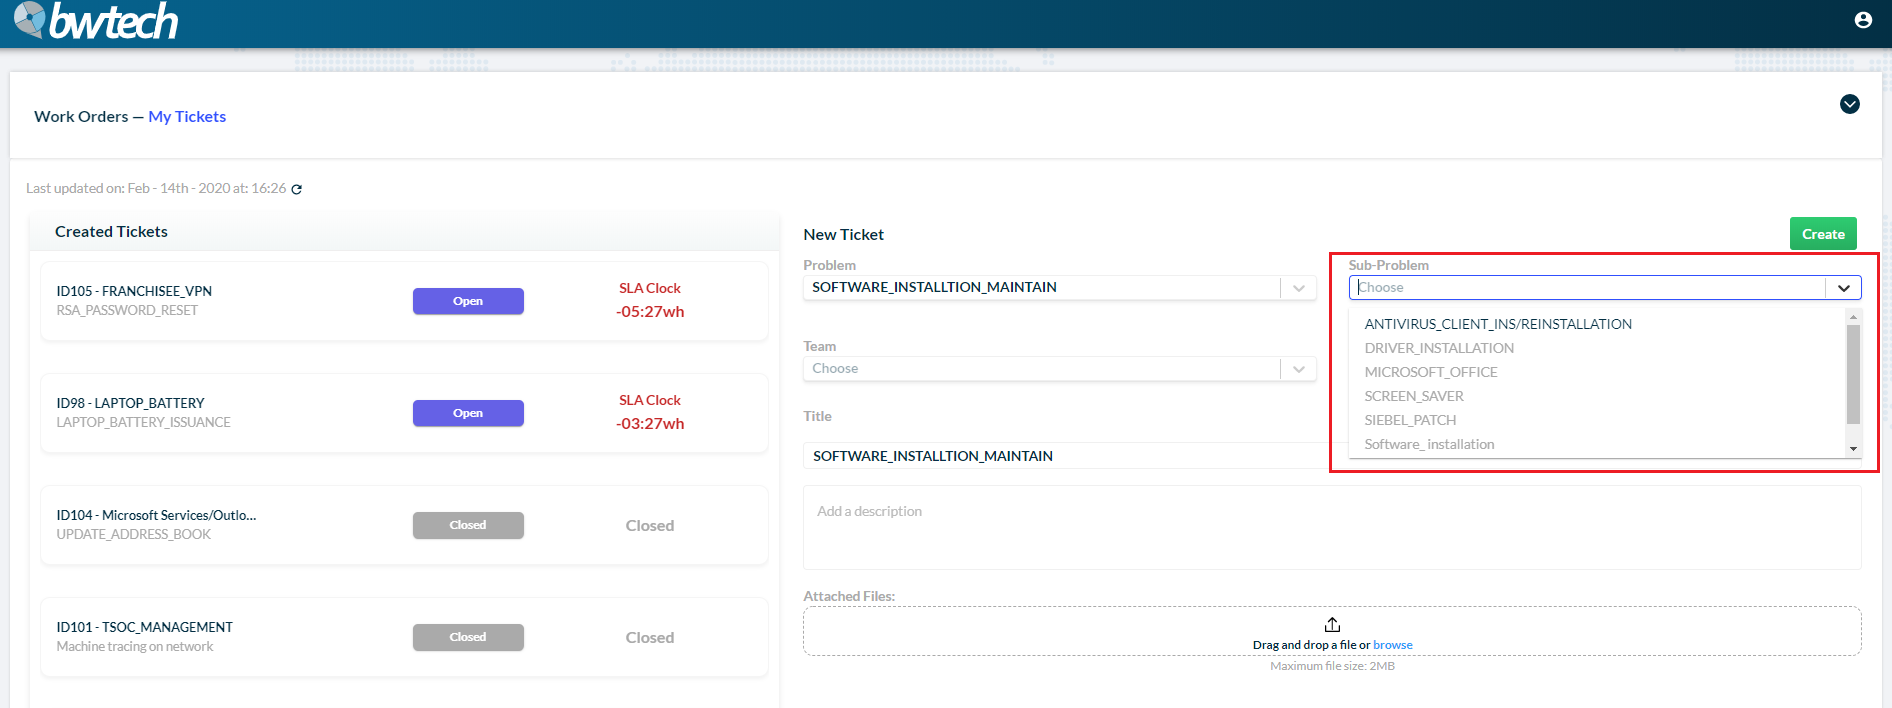
2 – On the new page, you can create your ticket. First, choose a problem.
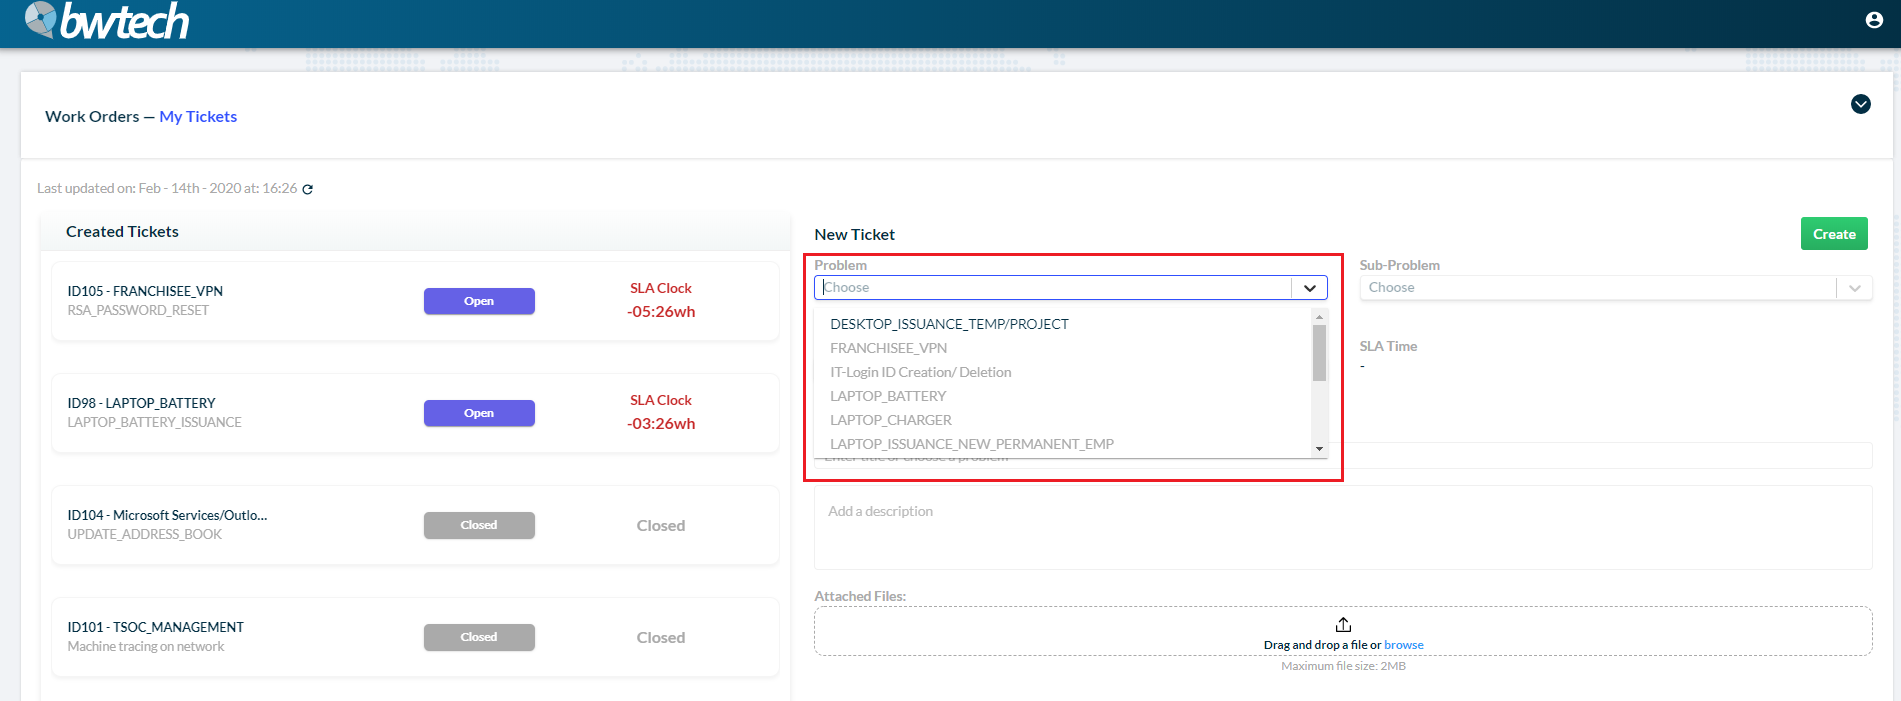
3 – Then, select a sub-problem.
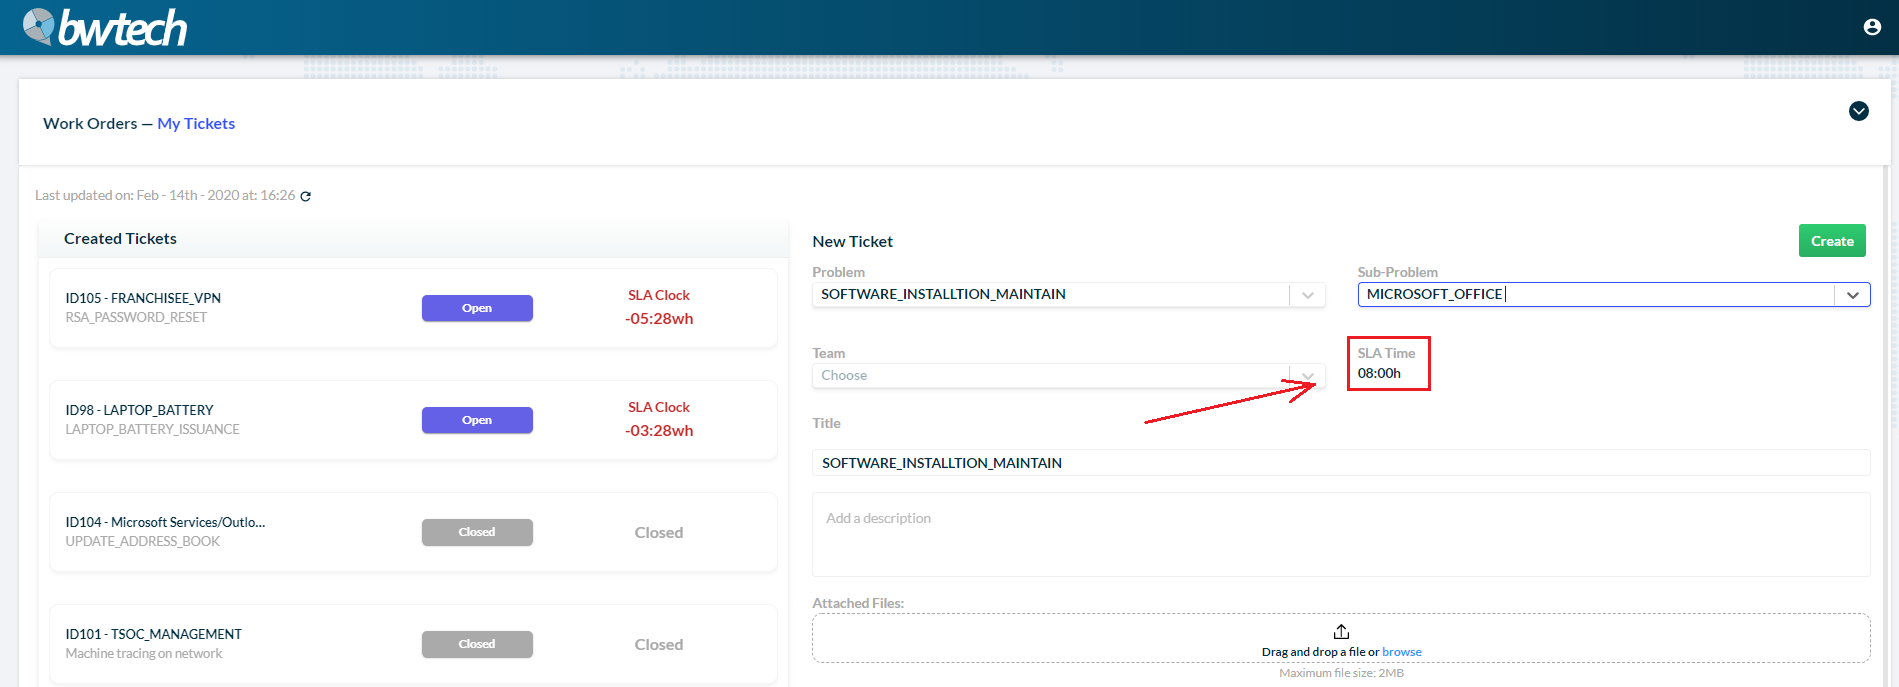
4 – After that, the system will show the SLA time for that ticket.
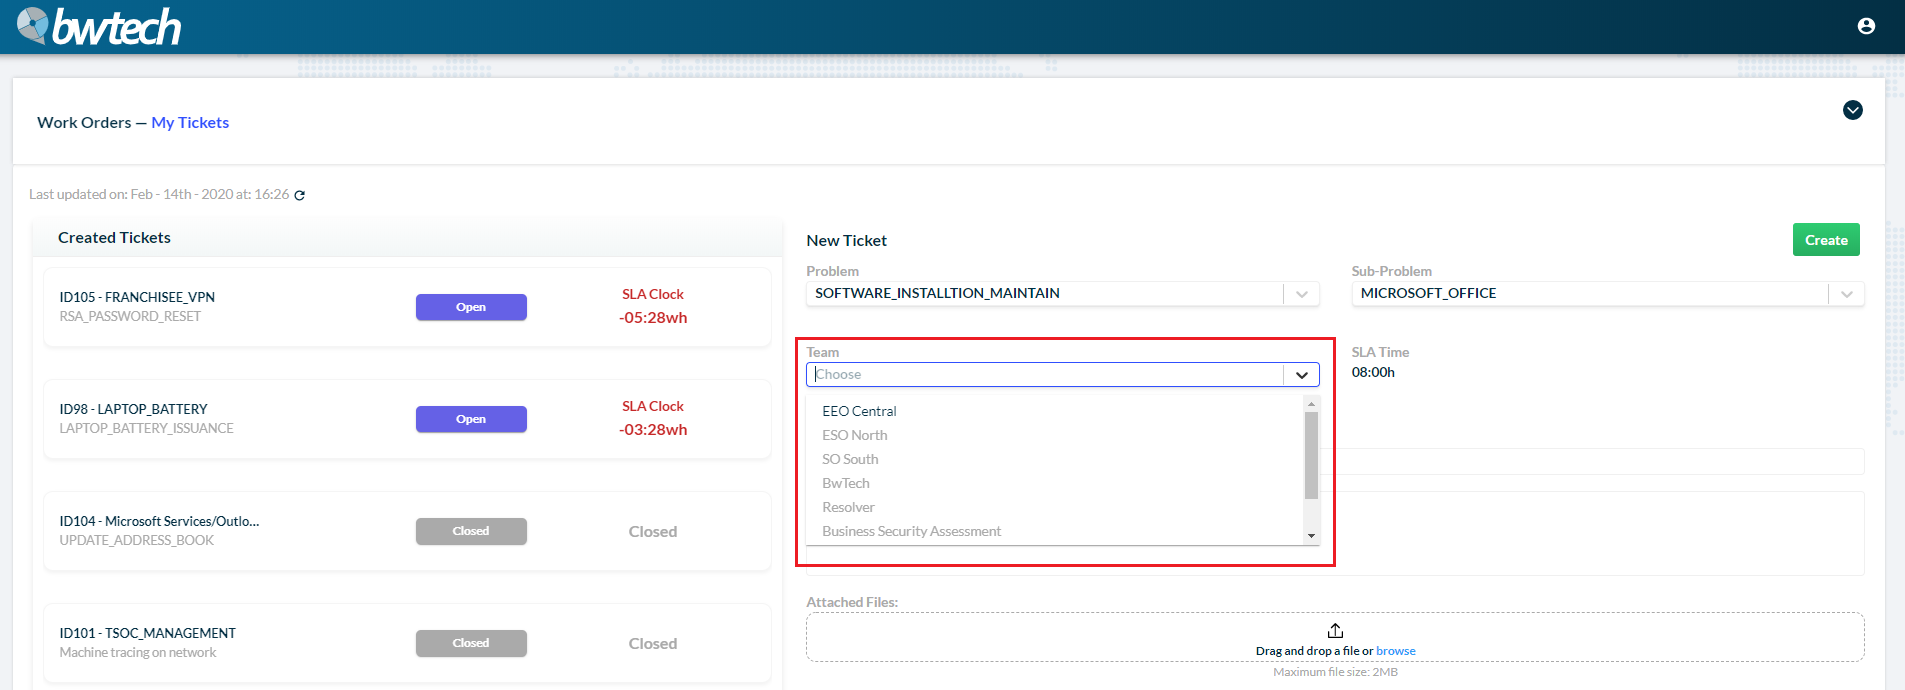
5 – Address the ticket to a team.
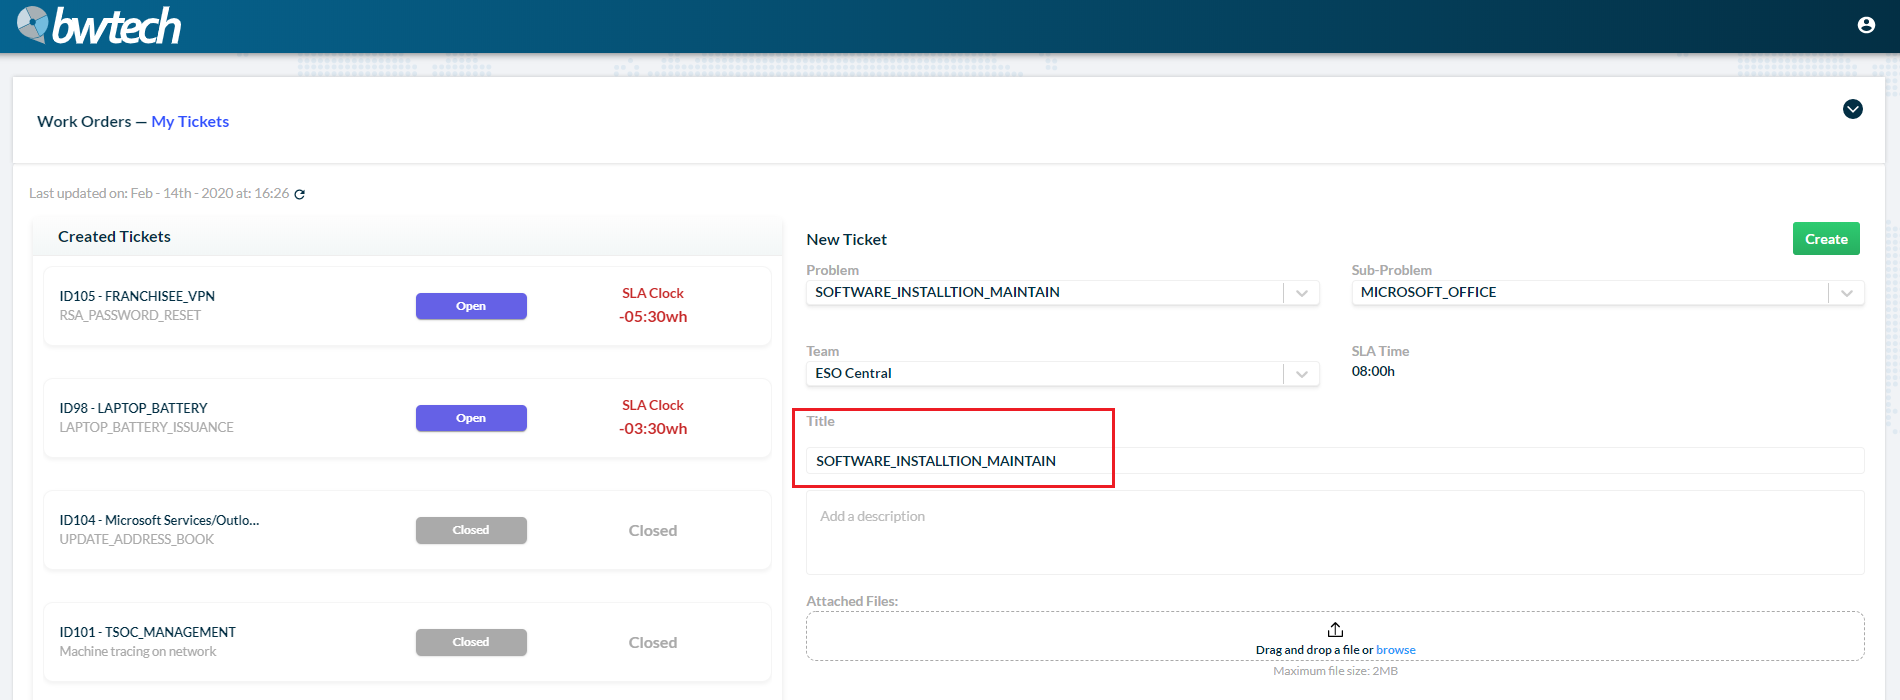
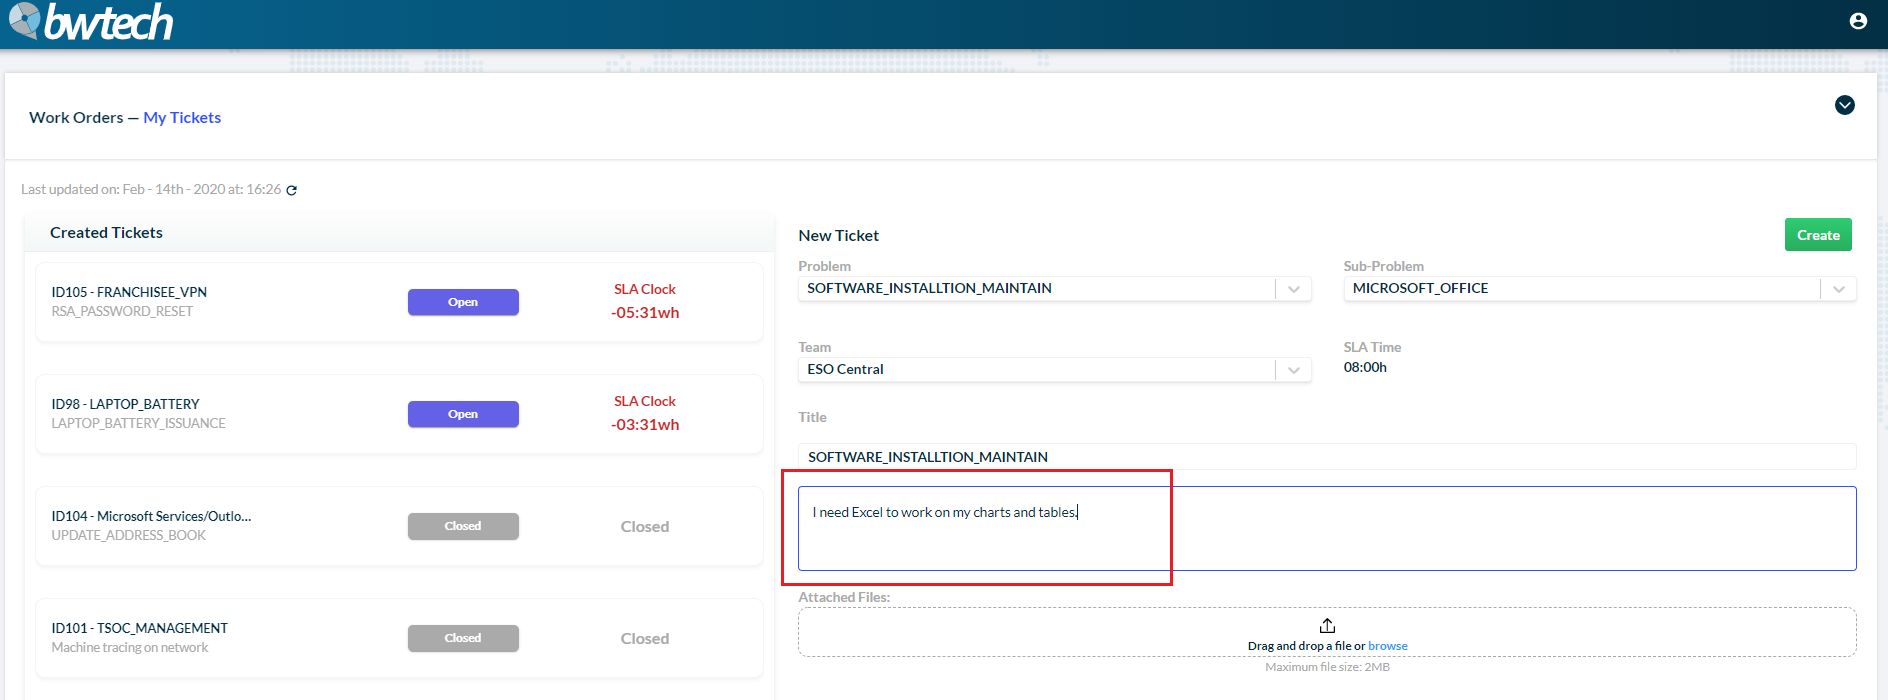
6 – The system automatically names your ticket, but you can change it if you want.
7 – You can also add a description to your ticket.
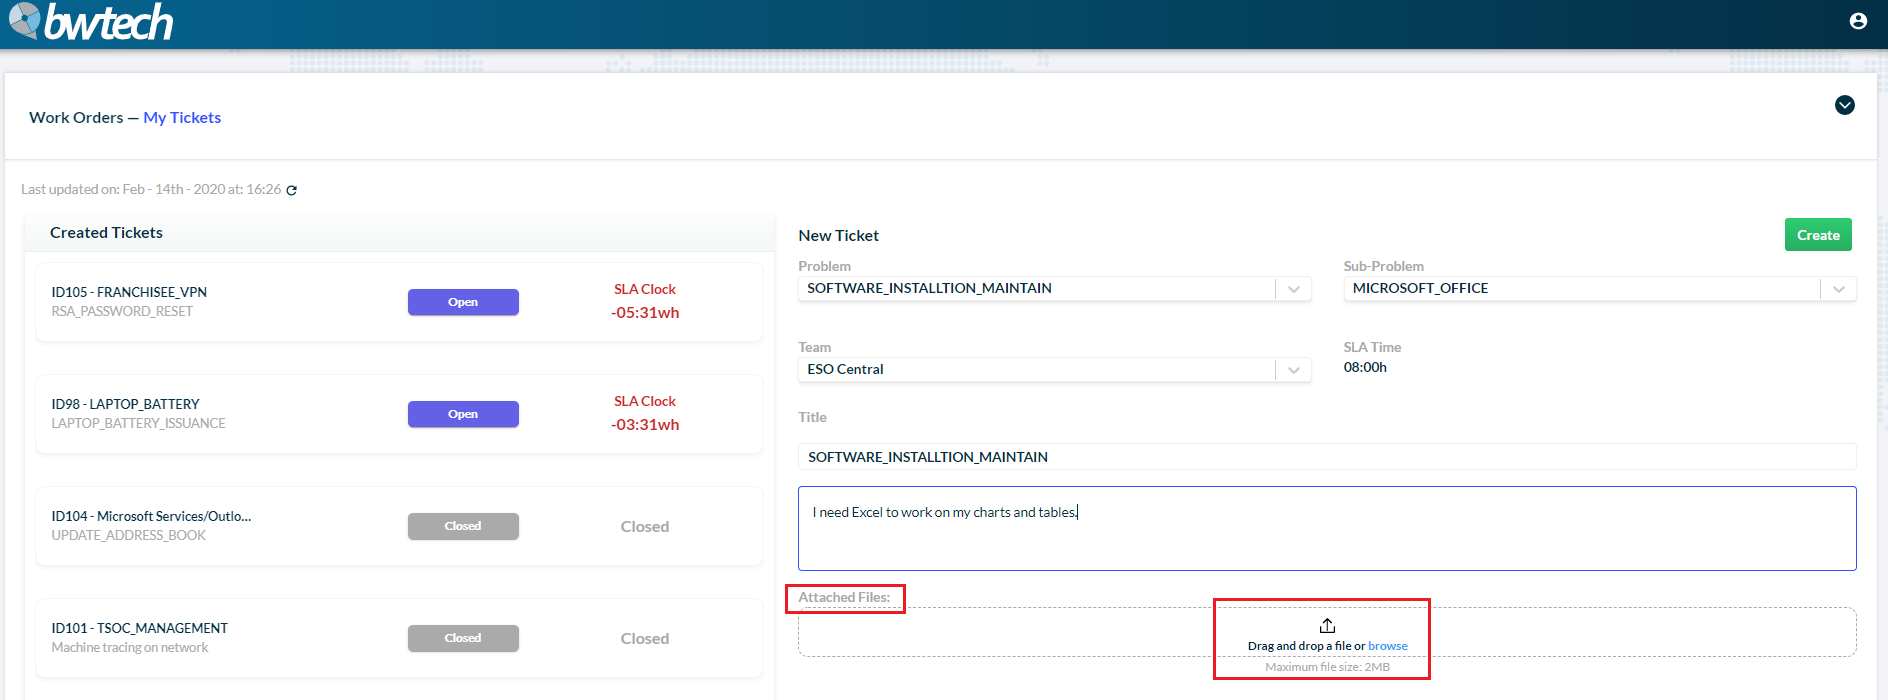
8 – And attach files.
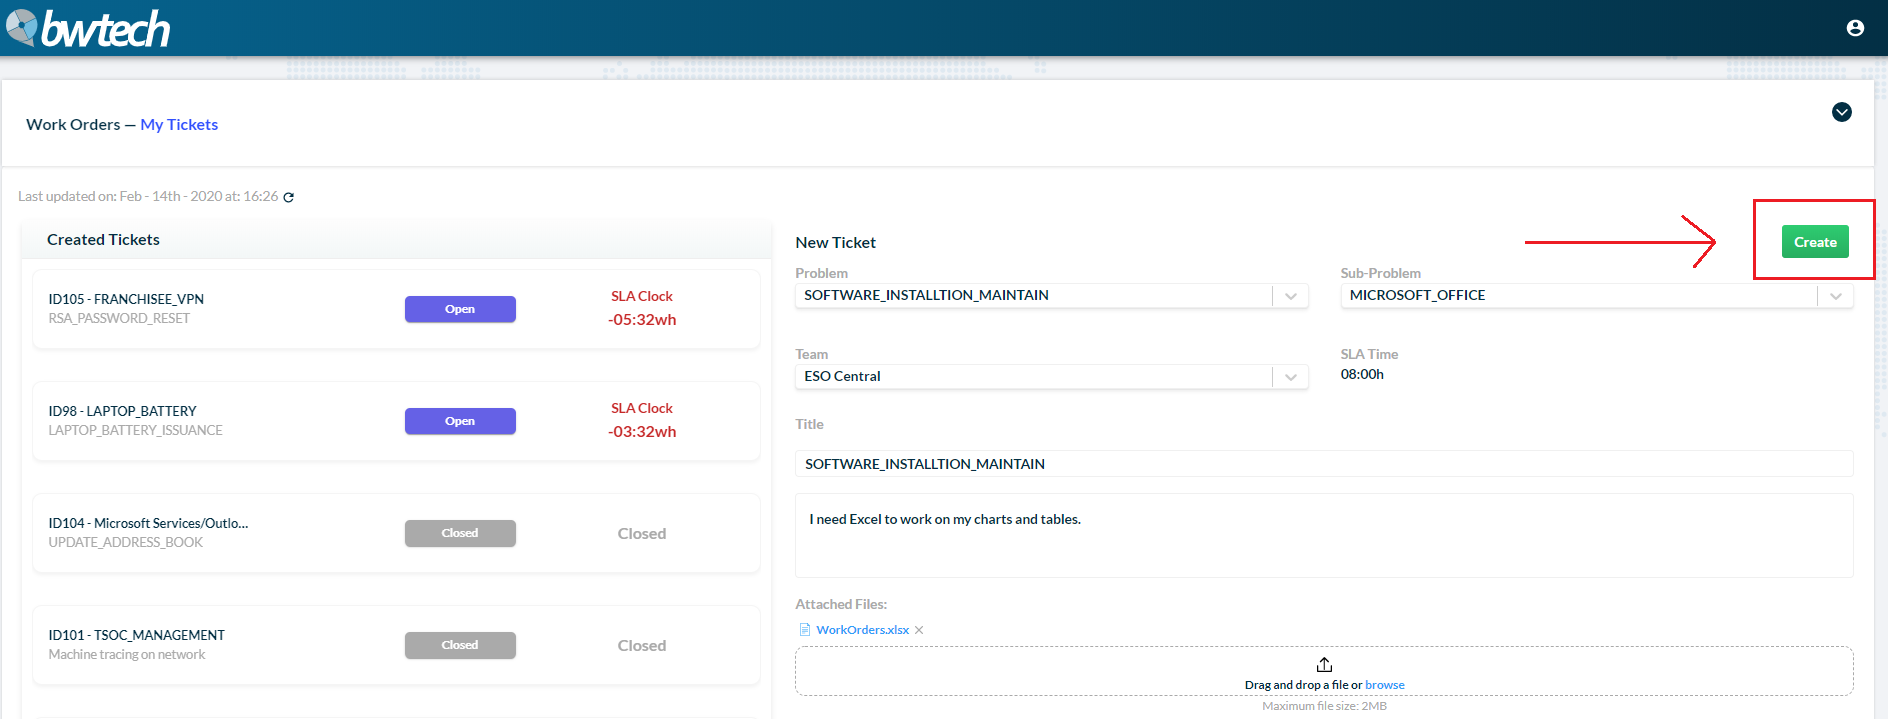
9 – After completing the ticket with all the information needed, click on the Create button.
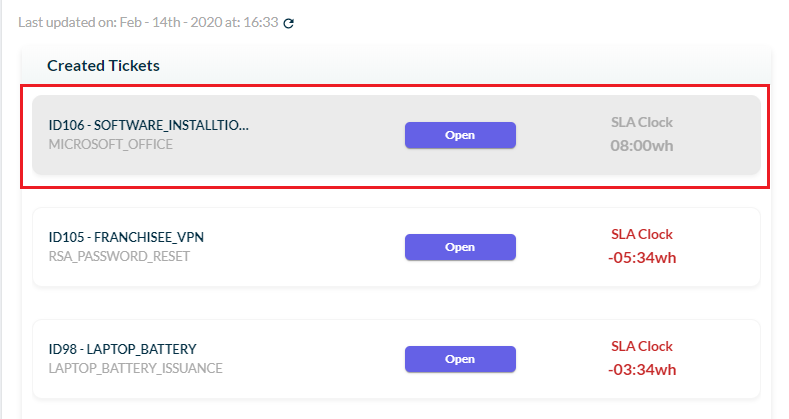
10 – Your new ticket will appear on the main page.
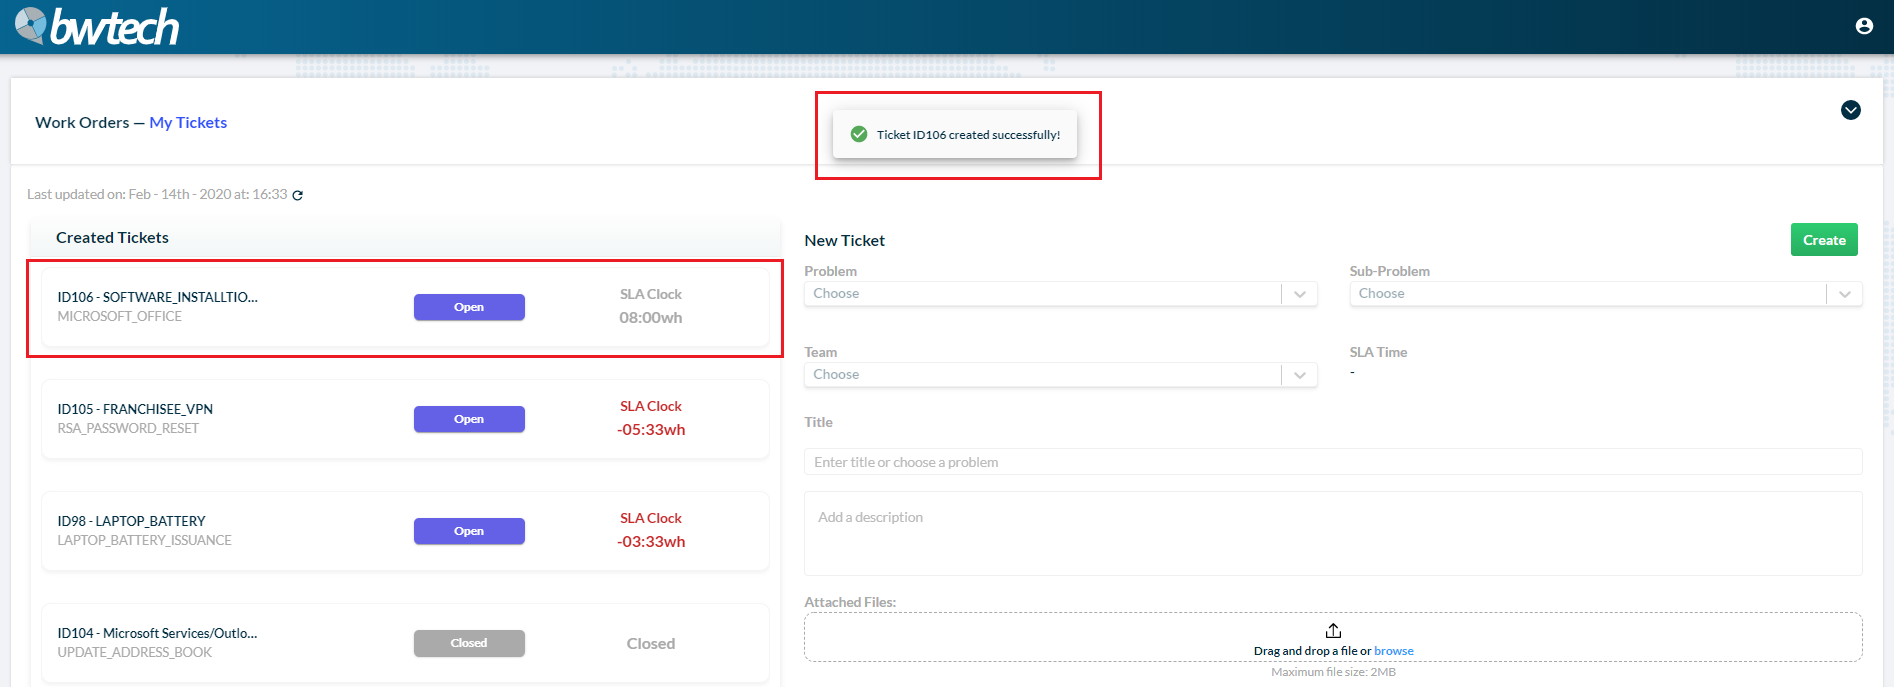
If you want to edit its information, just click on it.
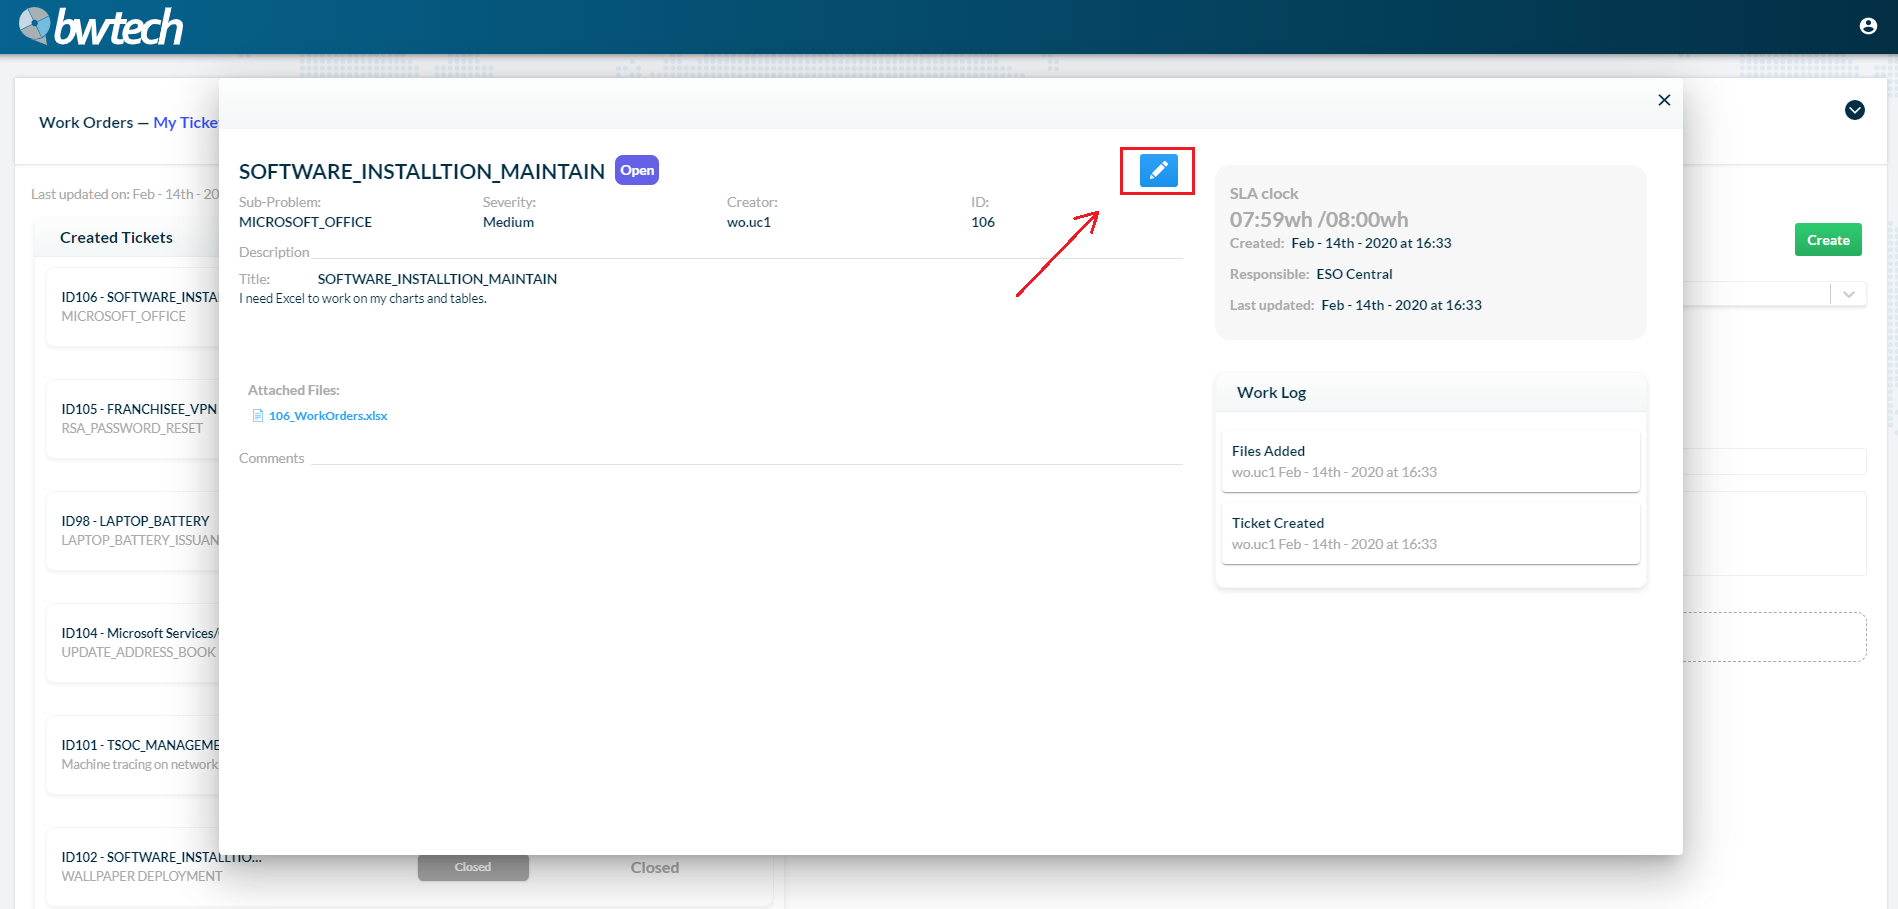
11 – A new window will open and, to edit the ticket, click on the Edit button.
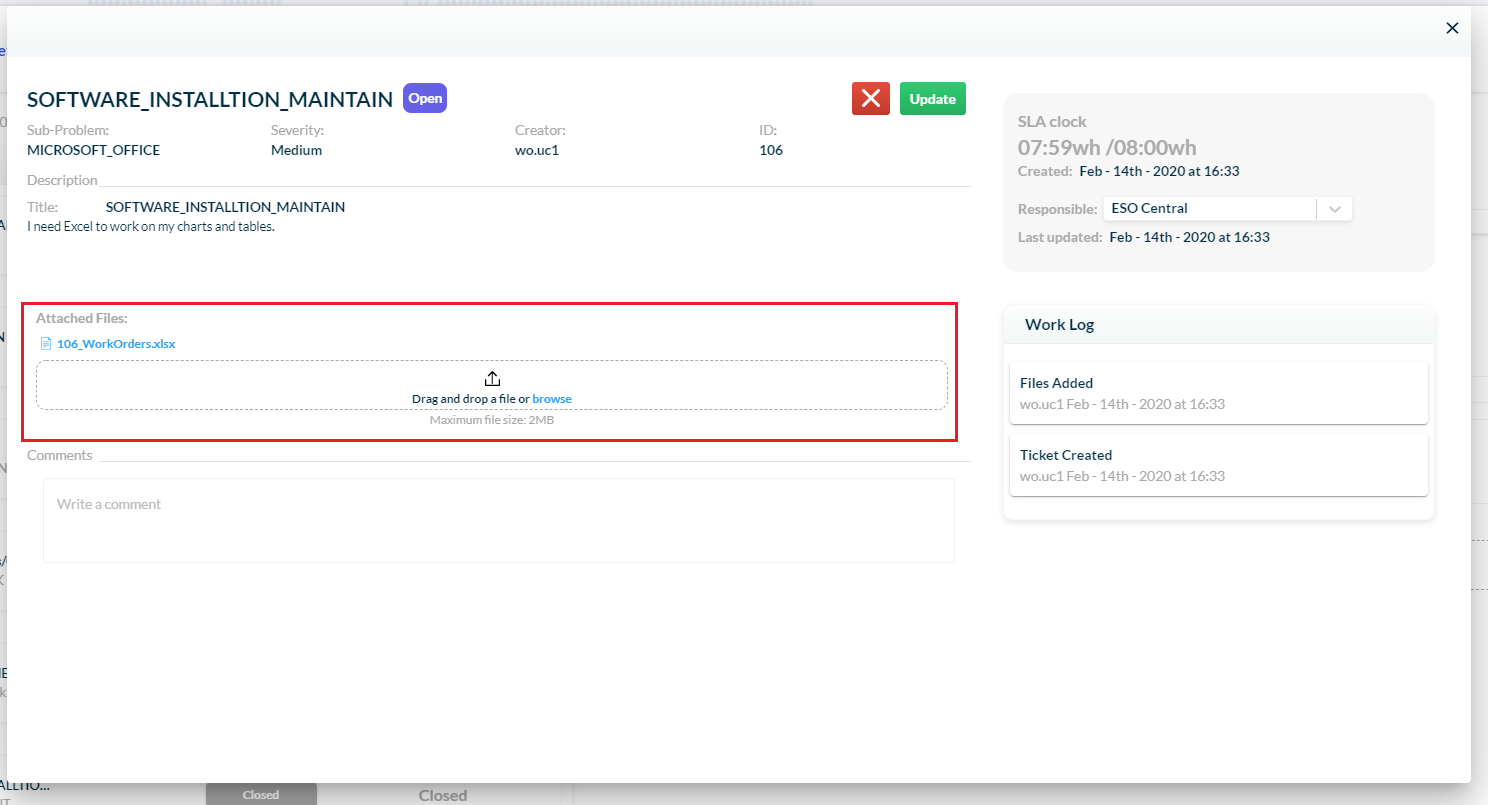
12 – You can attach more files.
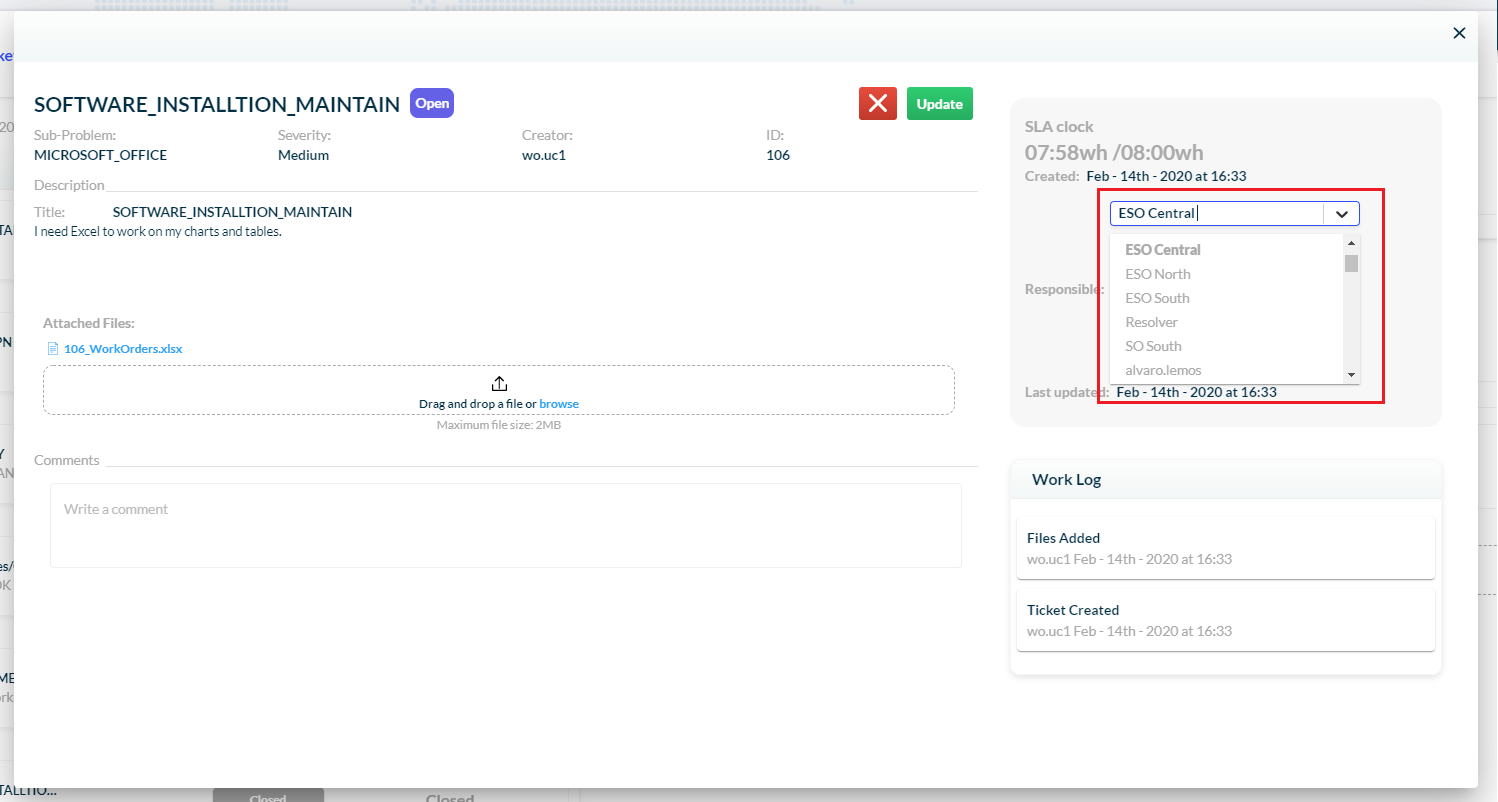
13 – Assign the ticket to a new team.
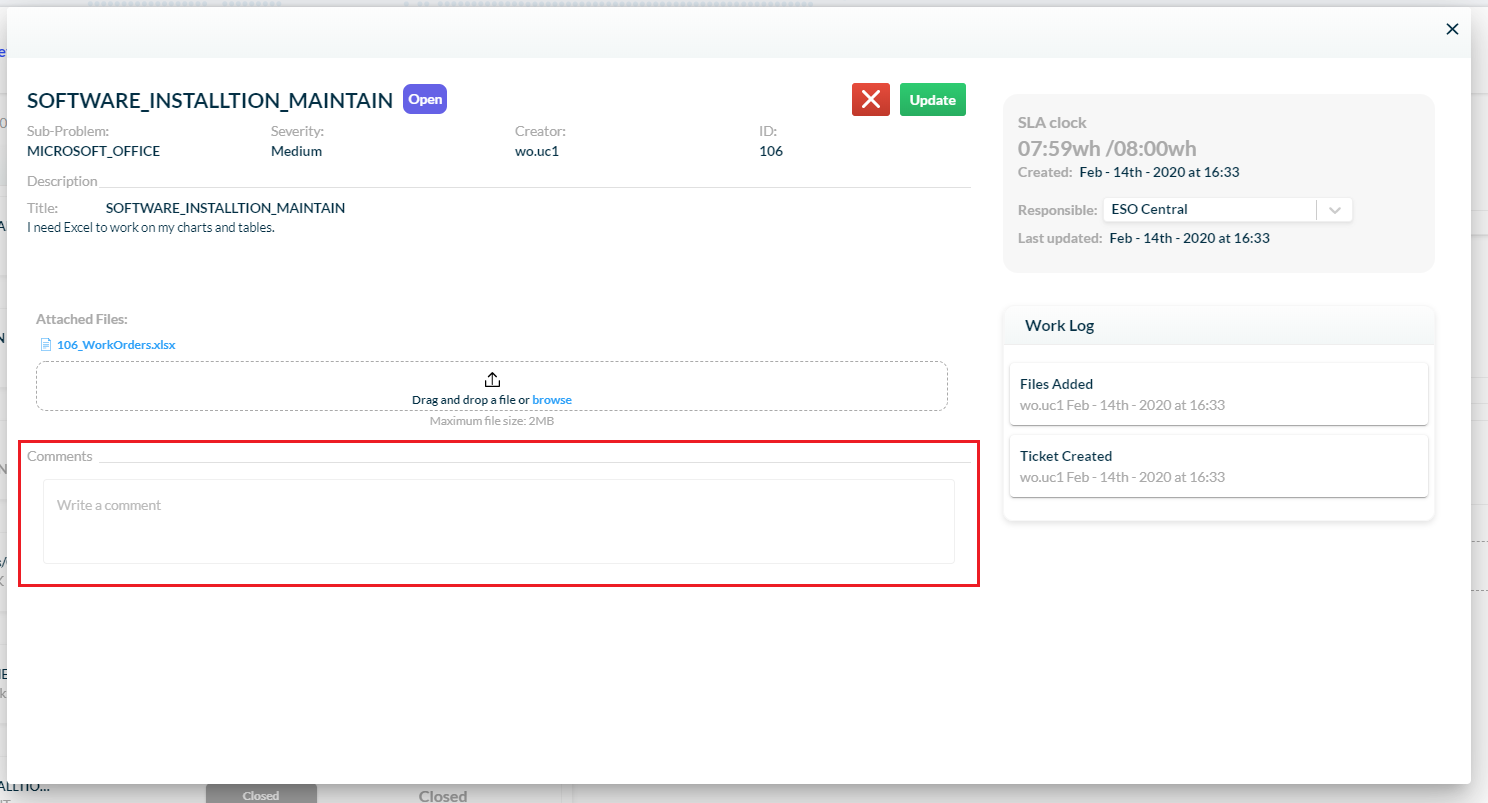
14 – And write comments.
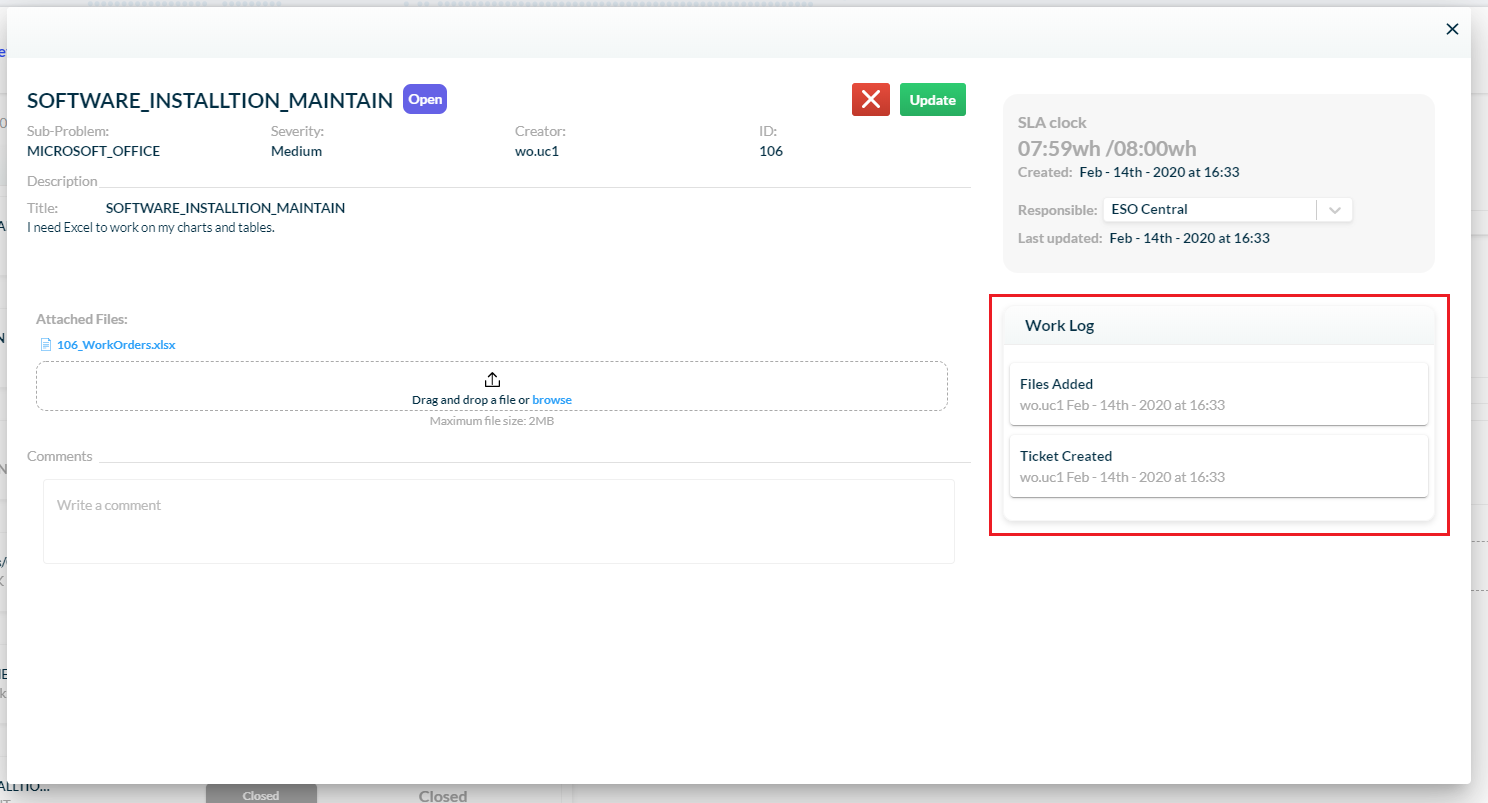
15 – You can check all the modifications made on the ticket in the work log list.
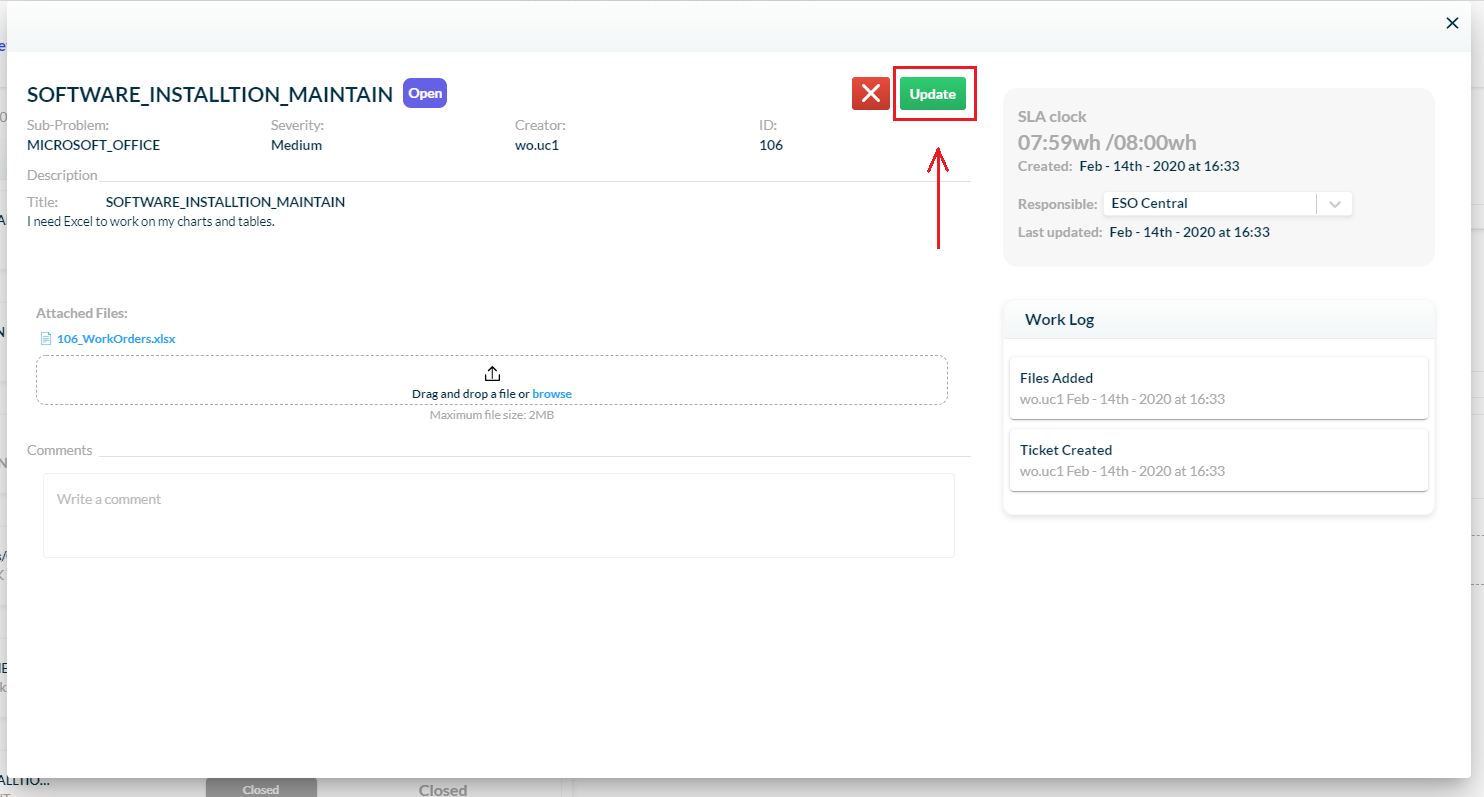
16 – After you finish editing it, you can save the changes by clicking on the Update button.
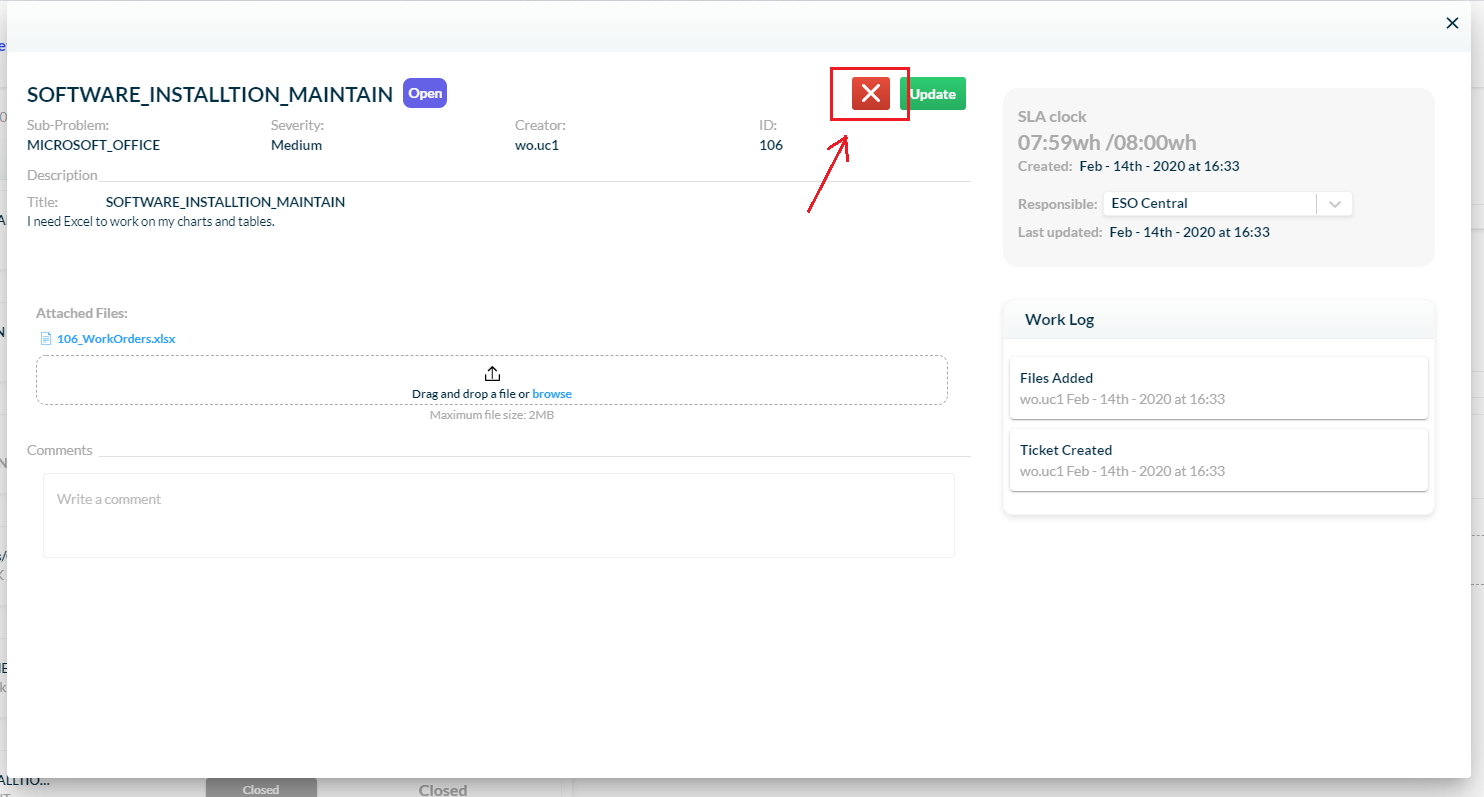
17 – Or cancel it by clicking on the X button.
18 – And you’re done! Your new ticket was created and you can follow its status through the Work Orders feature.
Resolving a ticket
1 – On the menu bar, click on your teams’ page (here called BwTech).
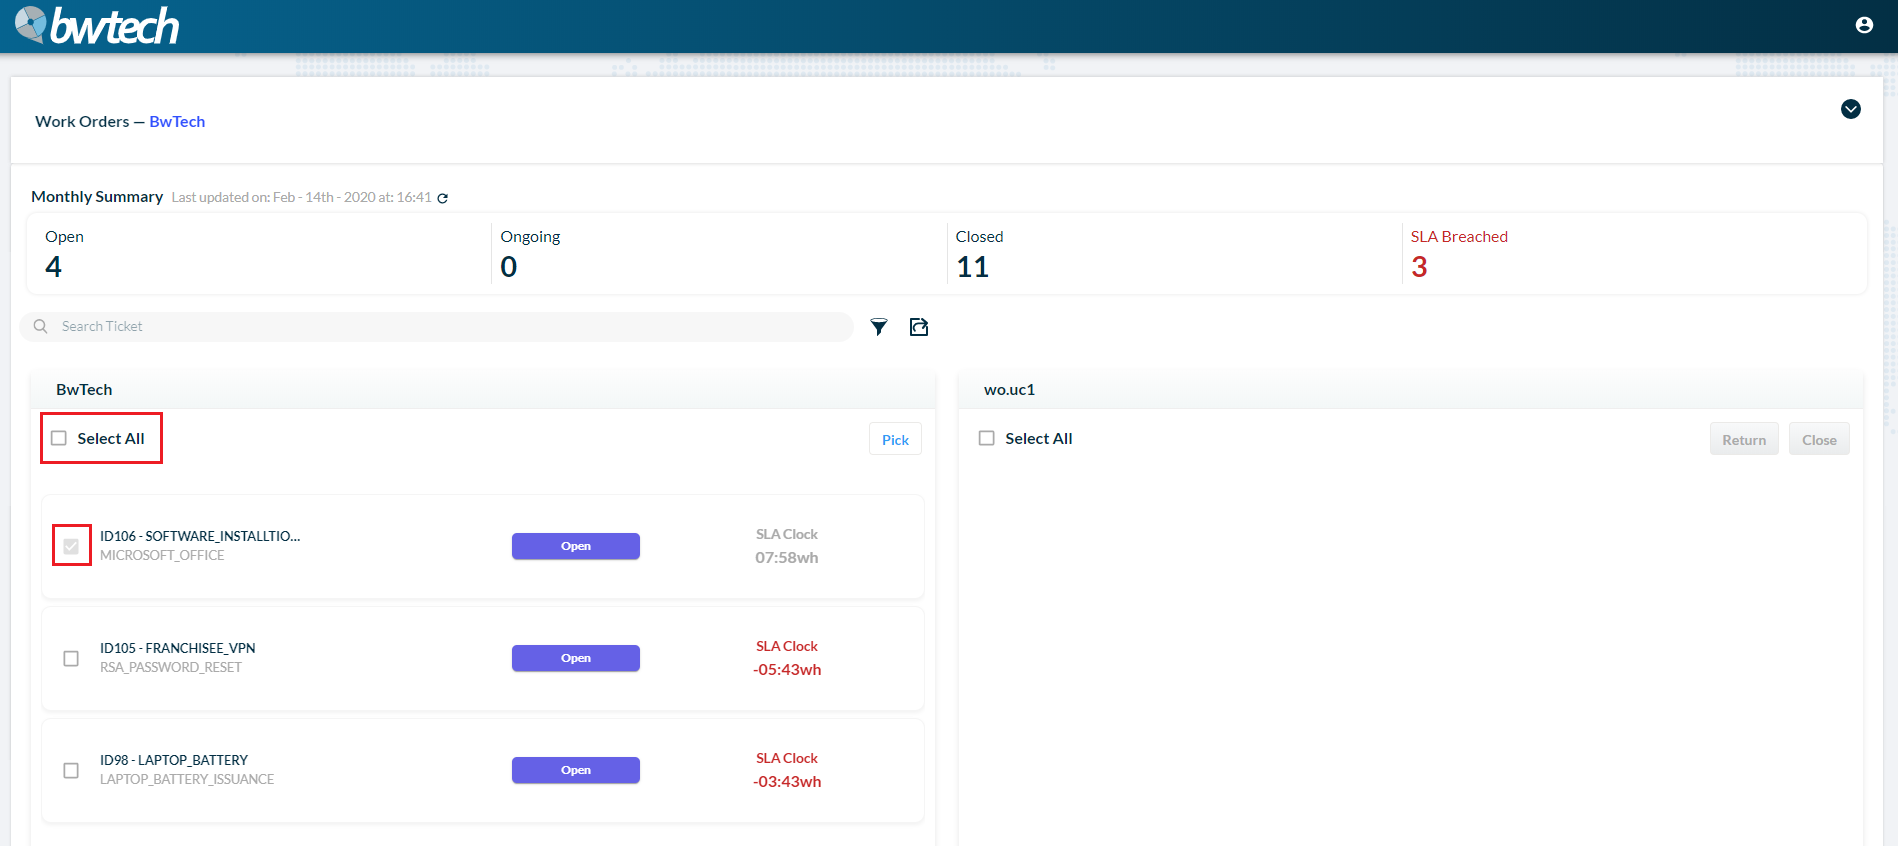
2 – You can pick tickets and move them to your board. To do that, you can select all of them, or choose only the ones you want.
3 – After selecting the tickets, click on the Pick button.
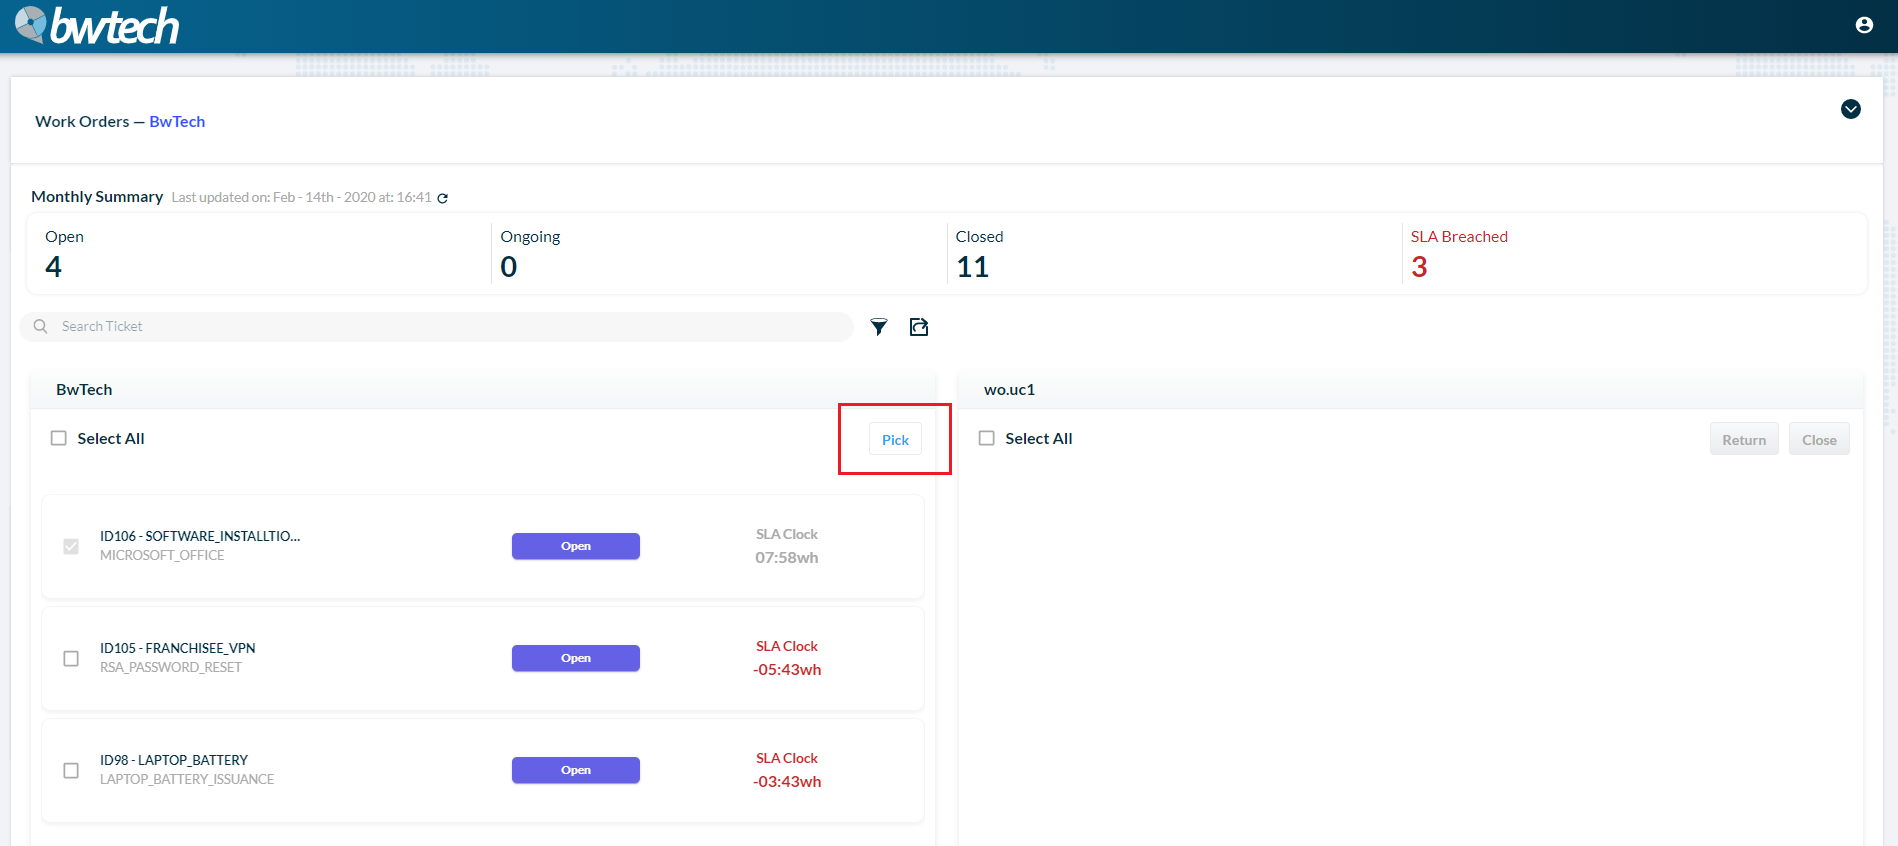
4 – The ticket (or tickets) selected will appear on your board.

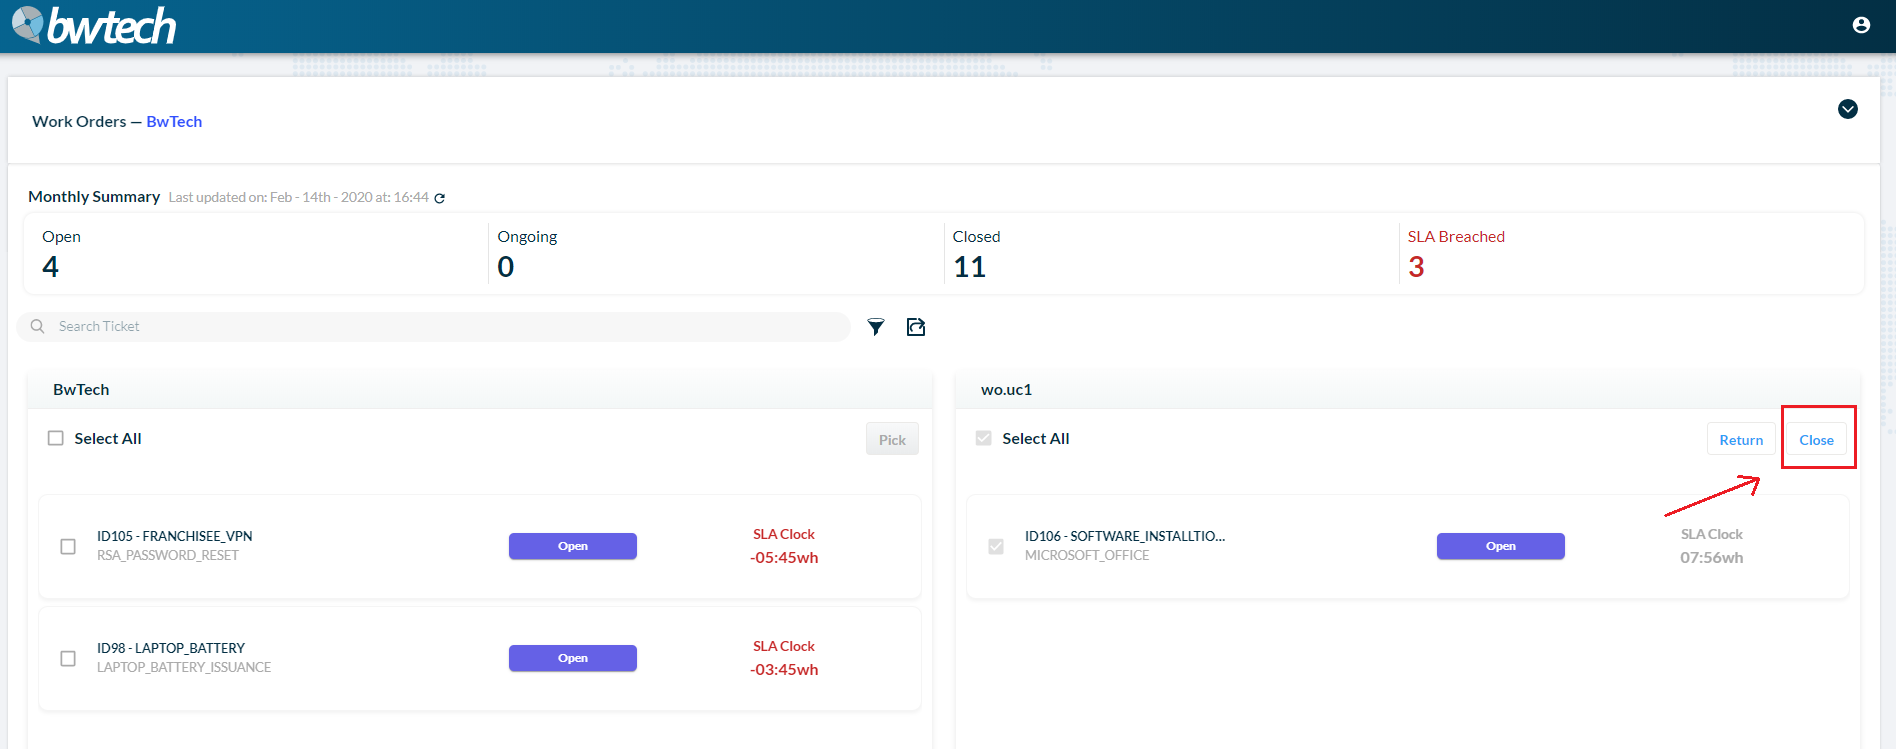
5 – You can return a ticket by clicking on the Return button.
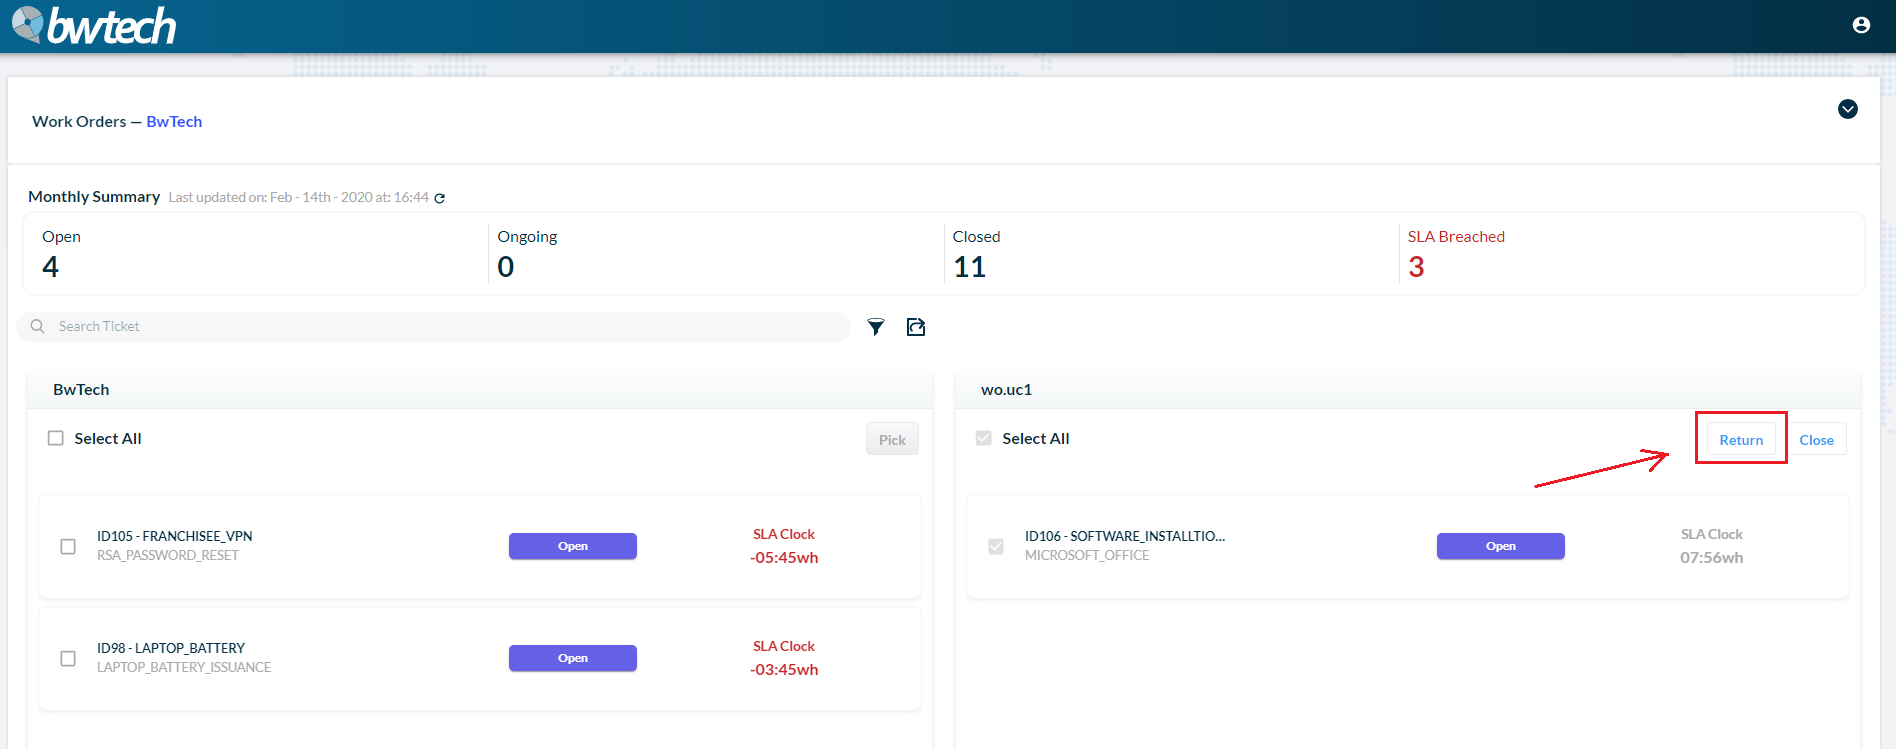
6 – You can also close a ticket by clicking on the Close button.
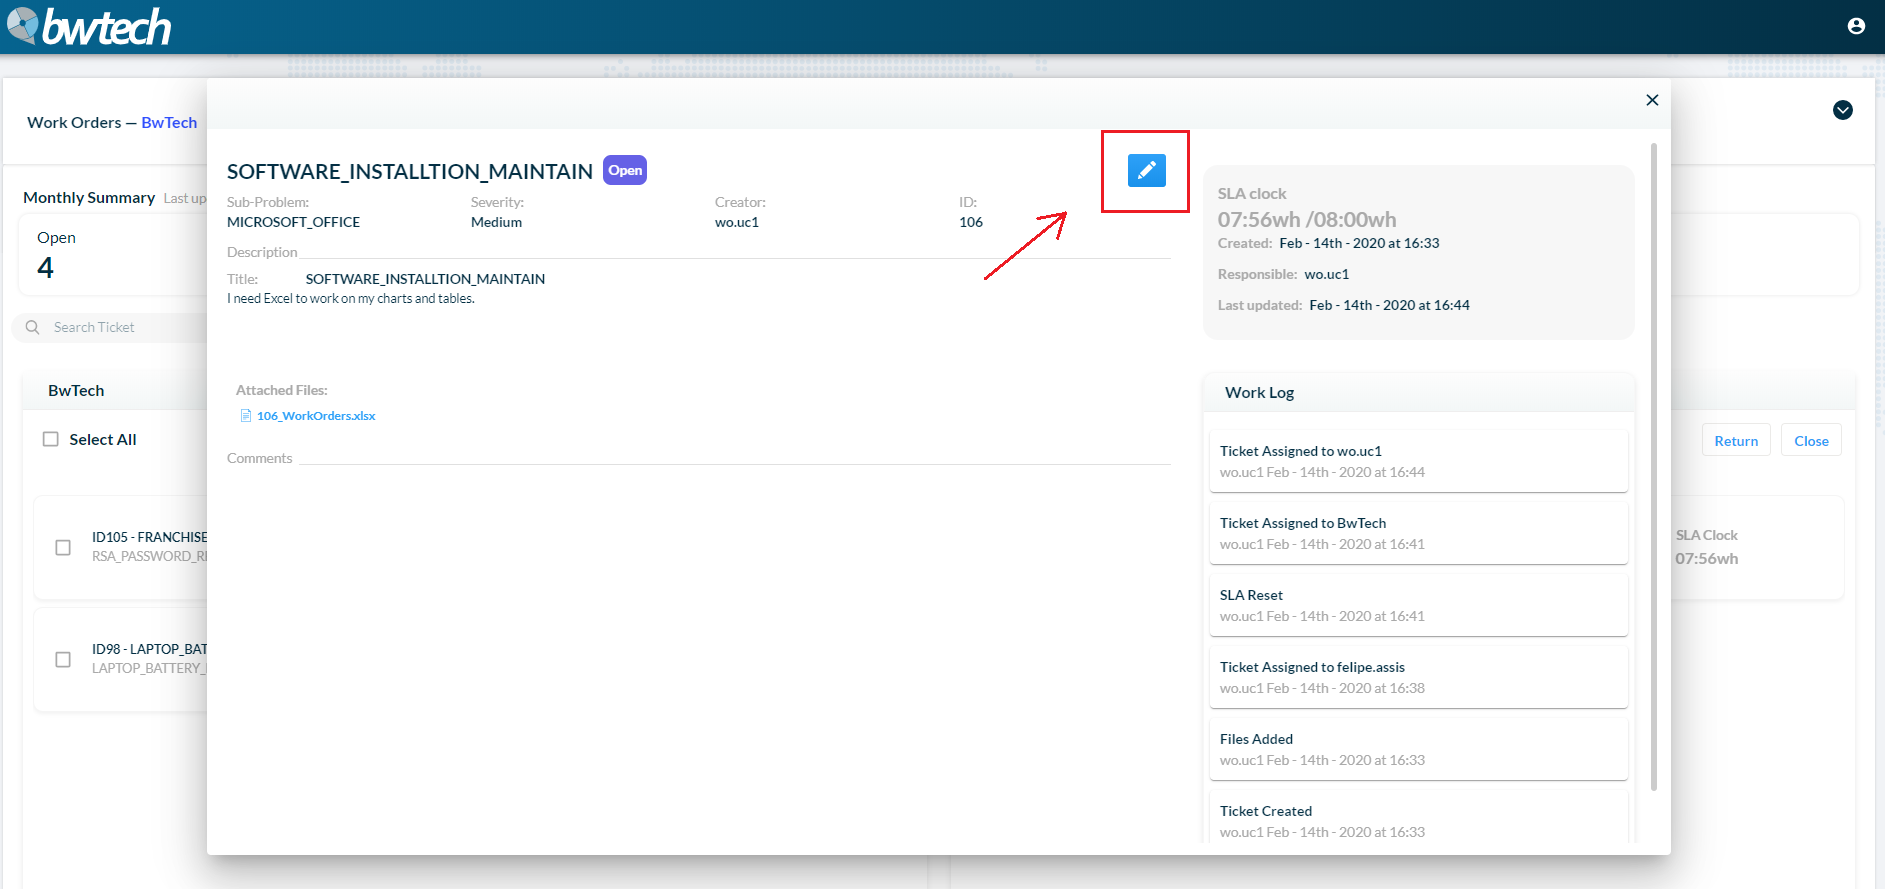
7 – To work on a ticket, click on it. A new window will open and, to modify the ticket, click on the Edit button.
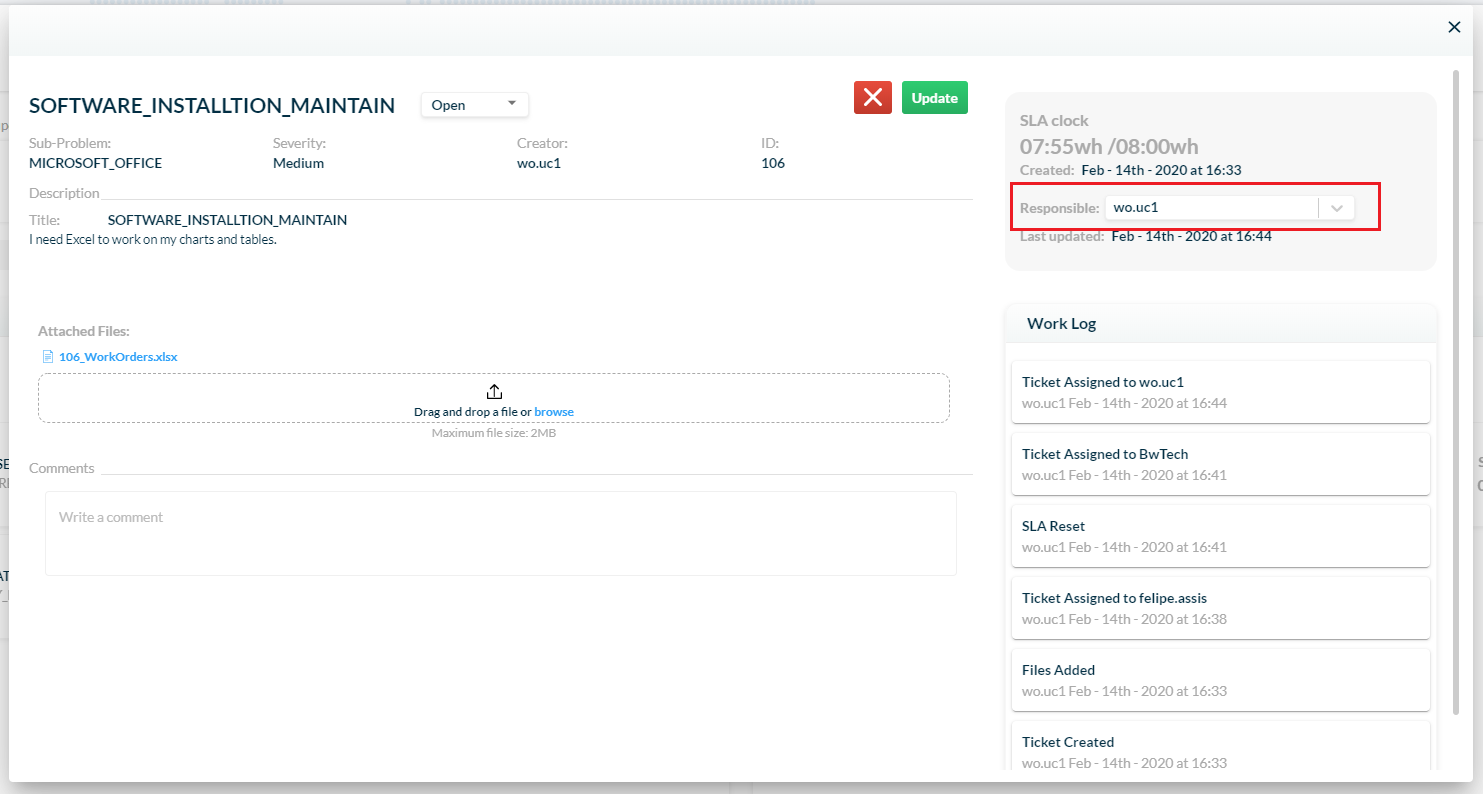
8 – You can change the responsible for the ticket.
9 – Modify the ticket’s status.
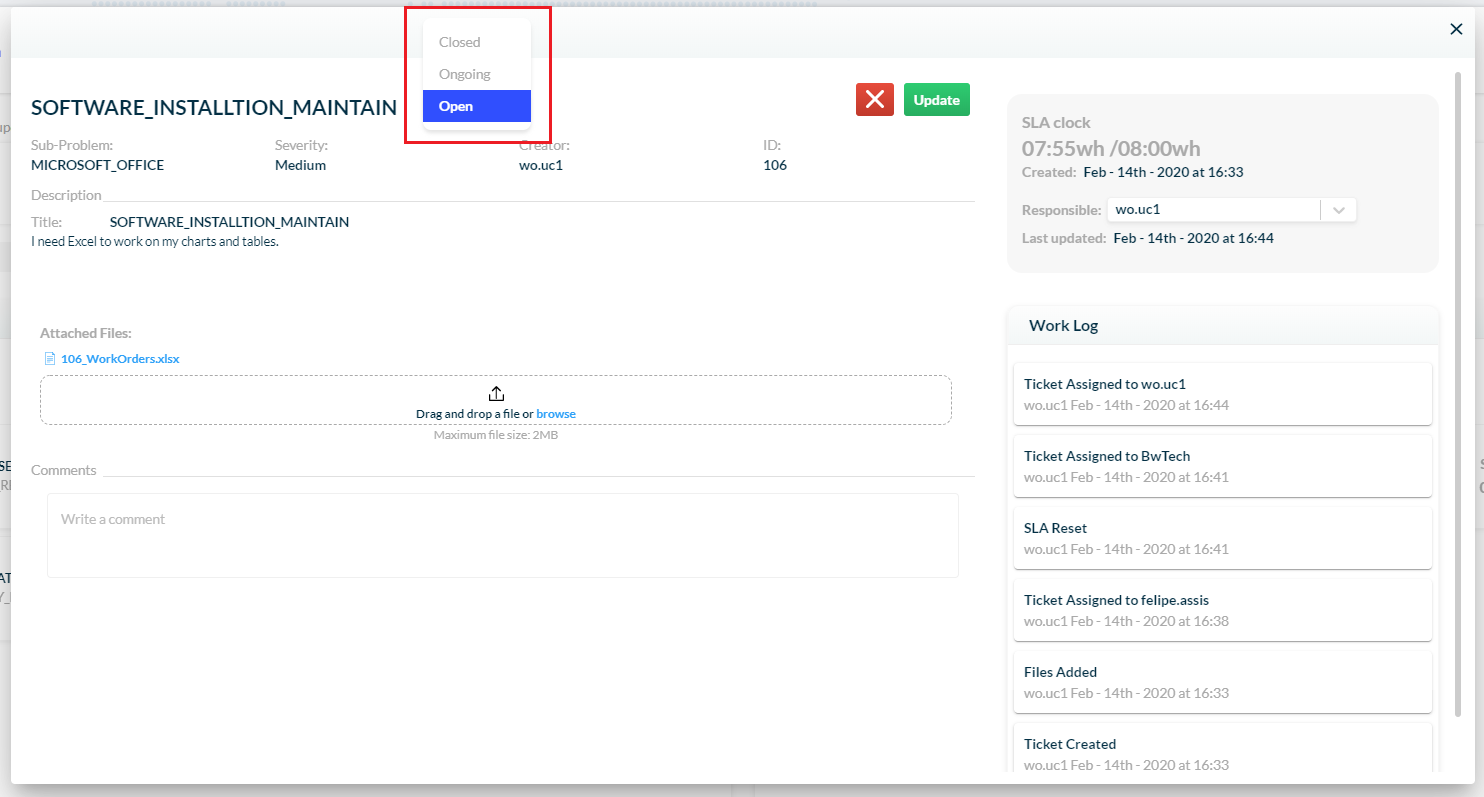
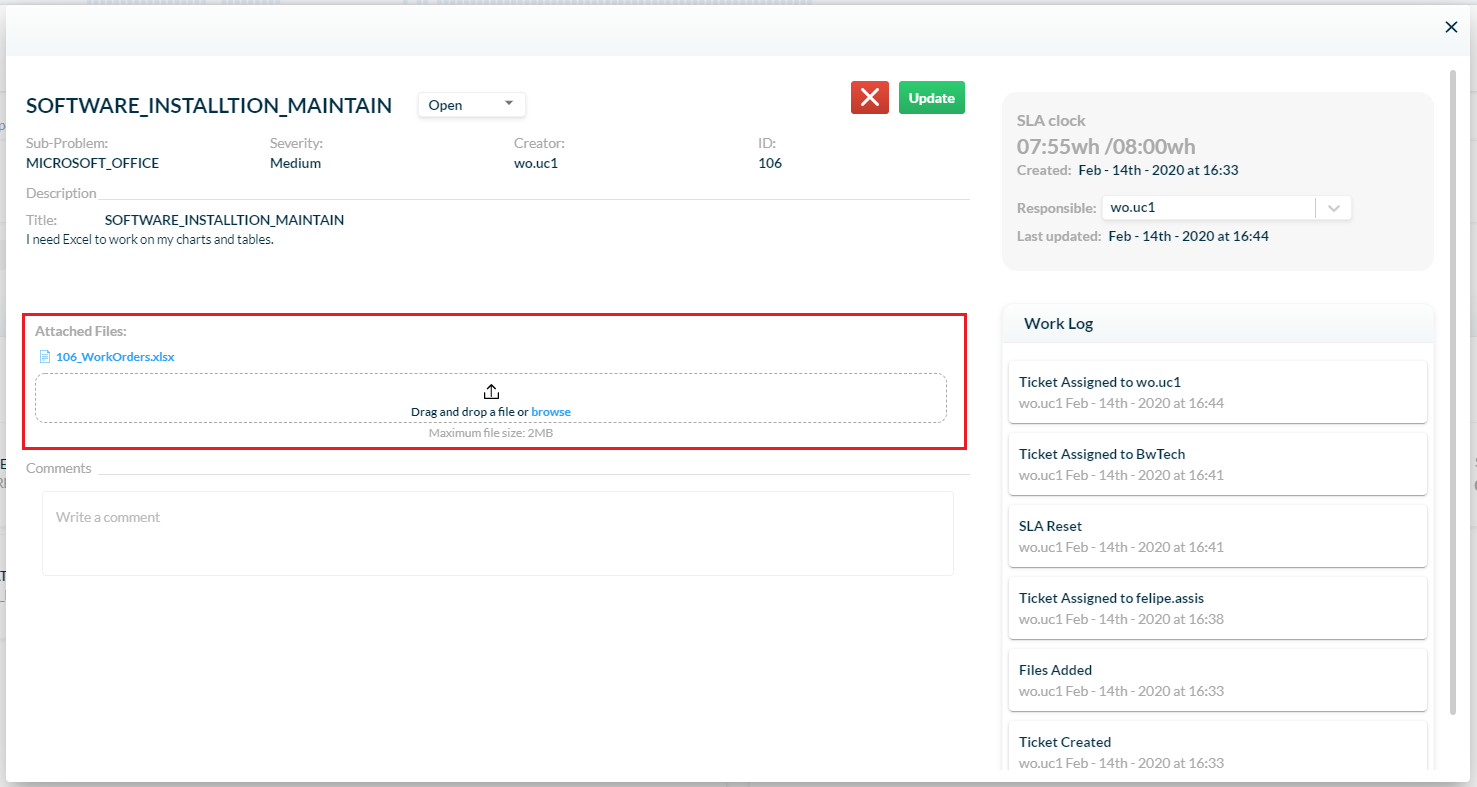
10 – Attach new files.
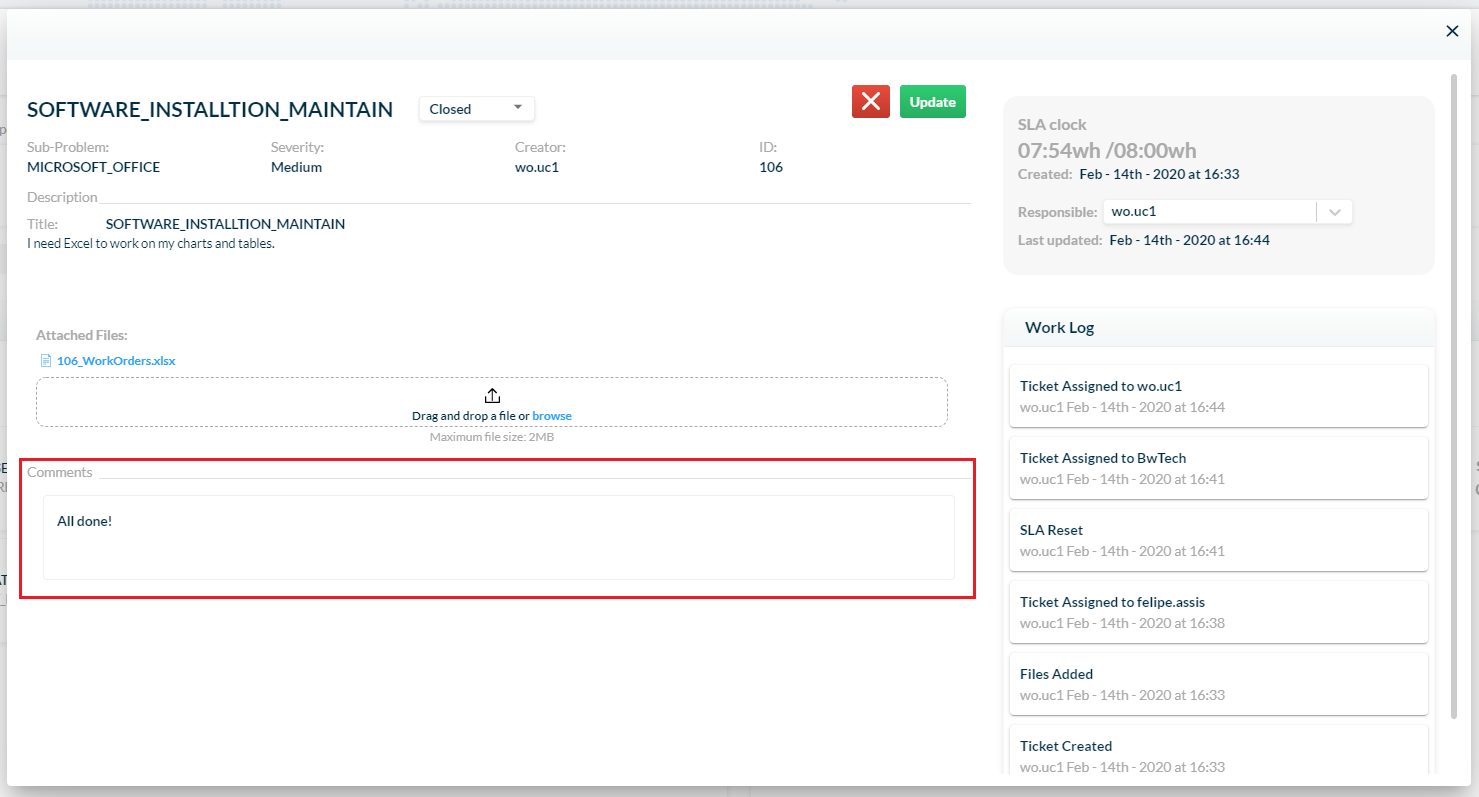
11 – And add comments.
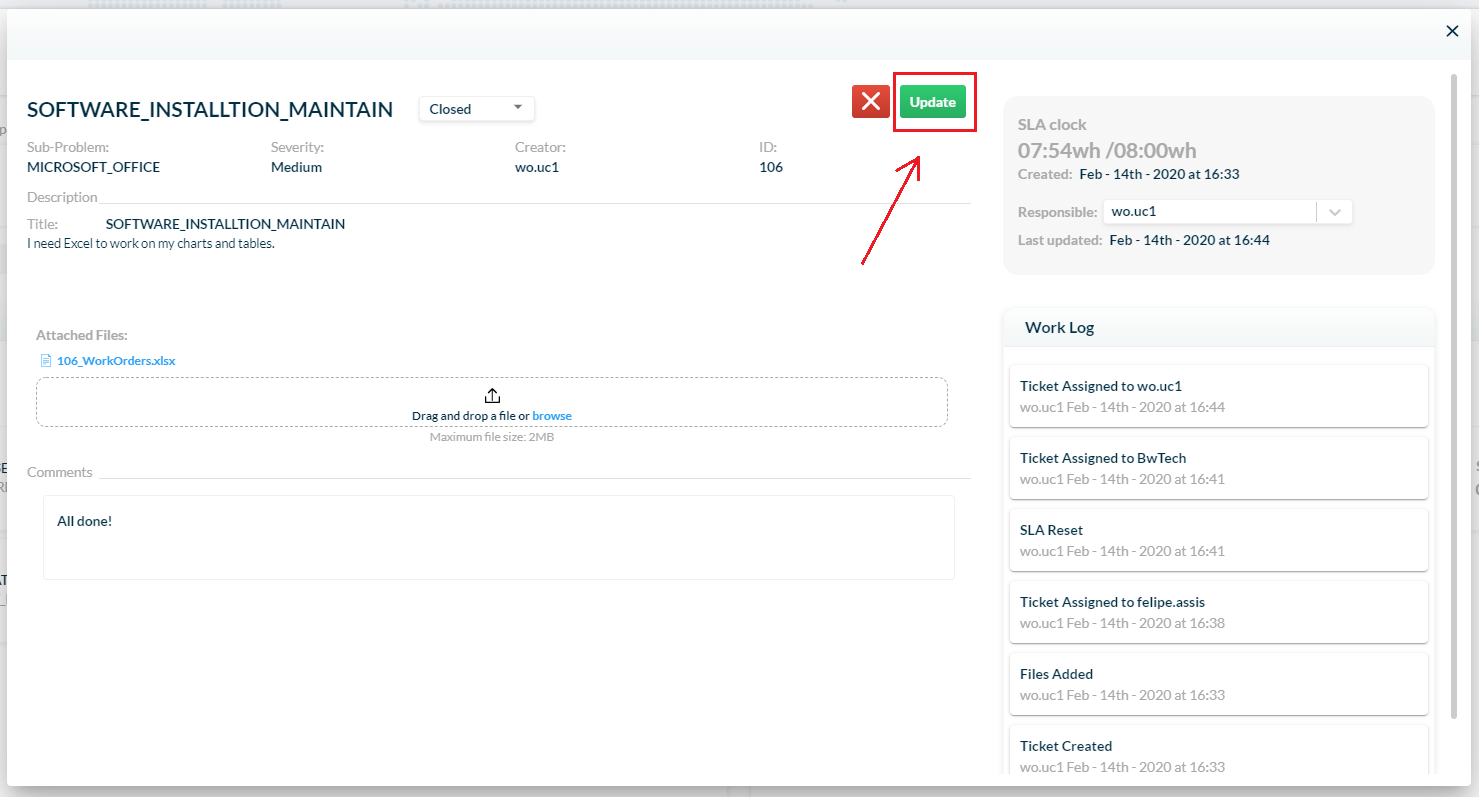
12 – After you finish working on it, just click on the Update button and that’s it!
COMMON ERRORS
- Trying to attach a file that exceeds the 2MB limit.
